
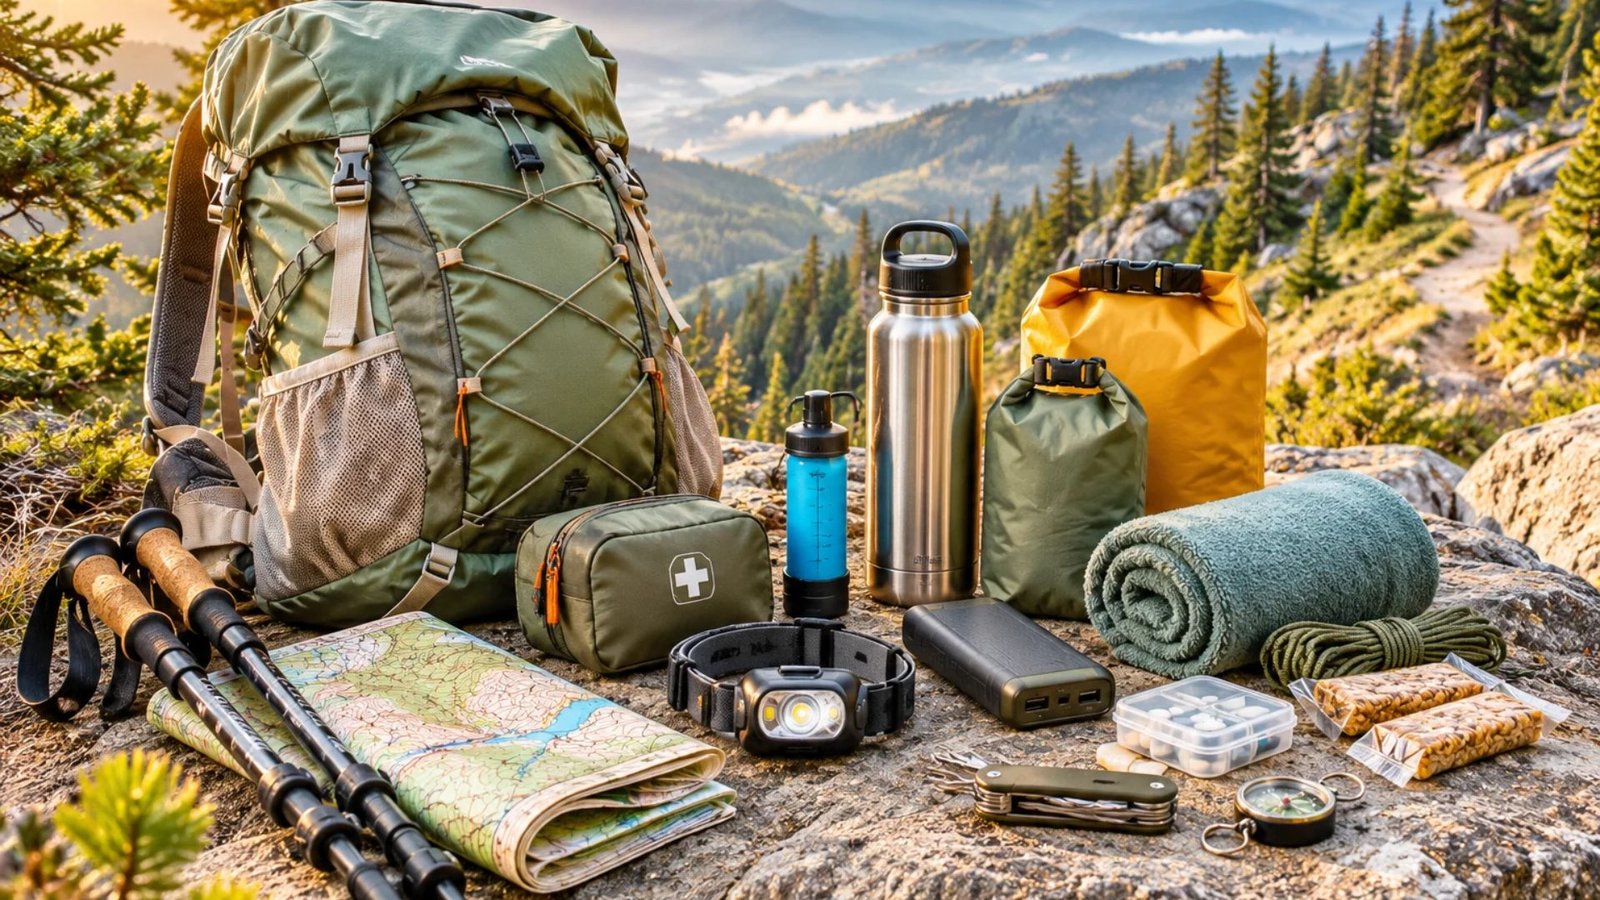

Backpacking is one of my favorite ways to experience the outdoors, but I’ve learned that having the right gear can make a huge difference in how enjoyable a hiking trip feels.
When you’re carrying everything on your back for miles, even a few unnecessary ounces can start to feel heavy.
That’s why I love choosing lightweight hiking accessories that serve a real purpose without taking up too much space.
Whether you’re planning a weekend backpacking adventure, a long-distance hike, or a peaceful overnight camping trip, these 15 lightweight hiking accessories will help you stay comfortable, organized, and prepared without overpacking.
Why Lightweight Hiking Accessories Matter
When you’re backpacking, every item you carry adds weight to your pack. While a single accessory might not seem heavy, several unnecessary items can quickly make your backpack uncomfortable.
Choosing lightweight hiking accessories helps you:
- Reduce pack weight: Carry less without sacrificing important functionality.
- Stay comfortable: Avoid unnecessary pressure on your shoulders, hips, and back.
- Save valuable space: Keep your backpack organized and leave room for essentials.
- Move more easily: A lighter pack makes climbing hills, crossing uneven terrain, and walking longer distances more manageable.
- Stay prepared: Small accessories can help you handle unexpected situations on the trail.
The goal isn’t to remove everything from your backpack. It’s to choose practical, versatile items that genuinely make your hiking experience better.
15 Lightweight Hiking Accessories for Backpackers
1. Lightweight Trekking Poles
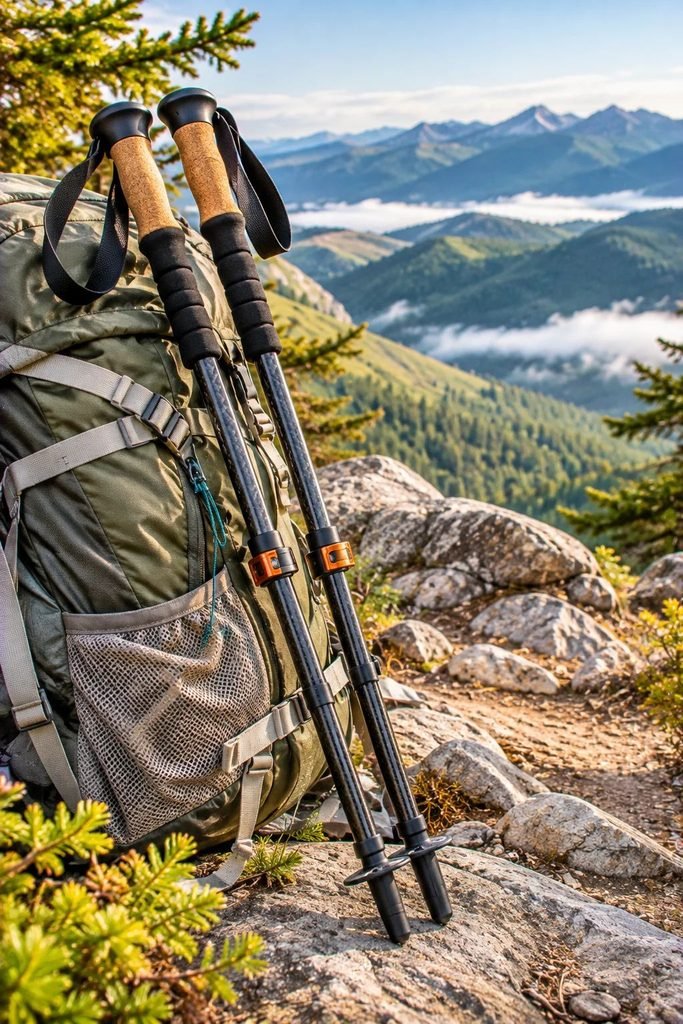
Trekking poles are among the most useful accessories you can bring on a backpacking trip, especially if your route includes steep climbs, rocky paths, or long downhill sections.
A lightweight pair can help improve balance, distribute some of the workload, and make challenging terrain feel more manageable.
I particularly like collapsible trekking poles because they can be folded and attached to the side of your backpack when you don’t need them.
What to look for:
- Carbon fiber or lightweight aluminum construction.
- Adjustable or foldable design.
- Comfortable, non-slip grips.
- Secure locking mechanisms.
- Replaceable rubber tips.
Why backpackers love them: They provide extra stability without adding much weight to your backpack.
Read Camping With Kids Packing List & Tips for Stress-Free Family Camping
2. Compact Rechargeable Headlamp
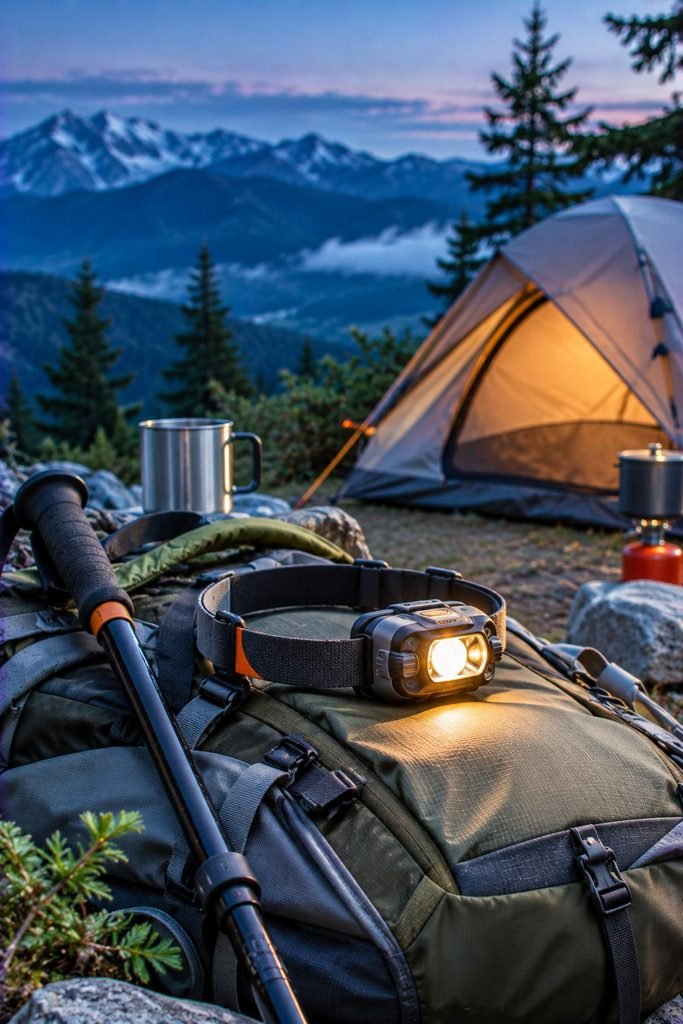
A headlamp is one of those small hiking accessories you might not think about until you actually need one.
Whether you’re setting up your tent after sunset, walking around your campsite, or starting an early morning hike, having hands-free lighting is incredibly helpful.
Unlike a traditional flashlight, a headlamp allows you to keep both hands free while navigating your surroundings.
Look for a rechargeable model with adjustable brightness, a comfortable head strap, and a battery that can last through your planned activities. A red-light mode is also useful for preserving night vision around camp.
What to look for:
- Compact and lightweight construction.
- USB rechargeable battery.
- Adjustable brightness settings.
- Water-resistant design.
- Lockout feature to prevent accidental activation.
My tip: Always check the battery before leaving home and carry a backup lighting option for longer or remote trips.
Read 5 Hidden Canyon Hikes That Will Steal Your Heart (And Leave You Breathless)
3. Portable Water Filter
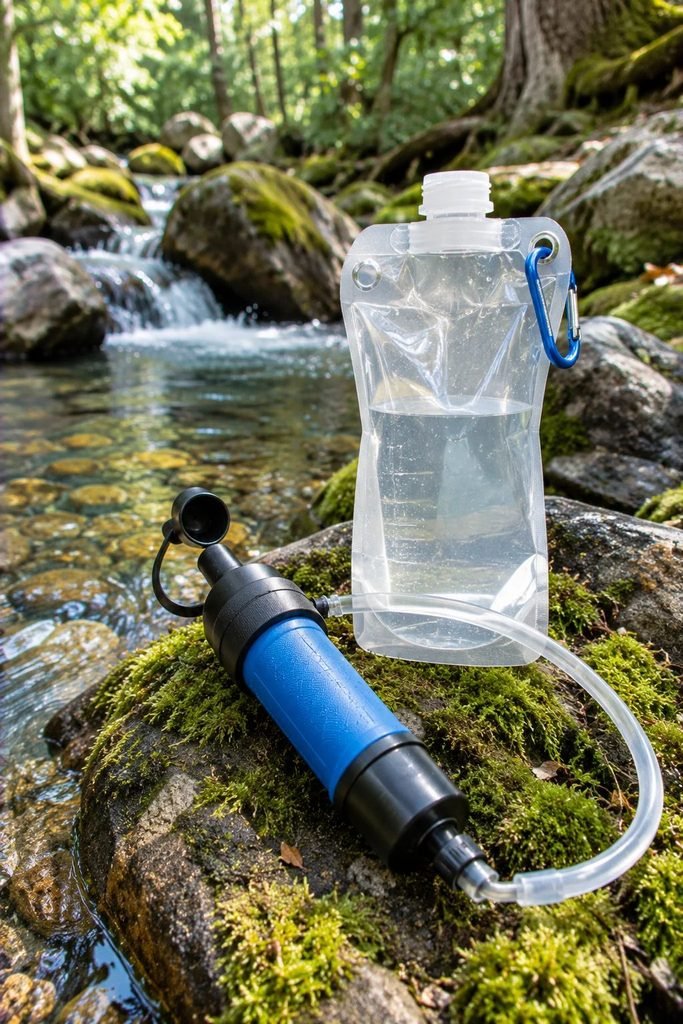
Staying hydrated is essential when backpacking, but carrying enough water for an entire trip can add considerable weight to your pack.
A portable water filter is a practical solution when your route has suitable natural water sources. Compact squeeze filters and lightweight straw-style filters can fit into small pockets and help you treat water without carrying bulky equipment.
This accessory is especially useful for multi-day backpacking trips where you may have opportunities to refill along the route.
What to look for:
- Lightweight filtration system.
- Easy-to-clean design.
- Compatible water bottles or reservoirs.
- Reliable filtration performance.
- Replacement filters that are easy to find.
Remember that not every filter removes viruses or all contaminants. Choose a treatment system appropriate for the water risks in your destination. You may also want backup purification tablets.
My tip: Never assume clear mountain water is safe to drink without treatment.
Read Easy Hikes With Amazing Views: My Favorite Trails That Prove You Don’t Need to Suffer for Beauty
4. Collapsible Water Bottle
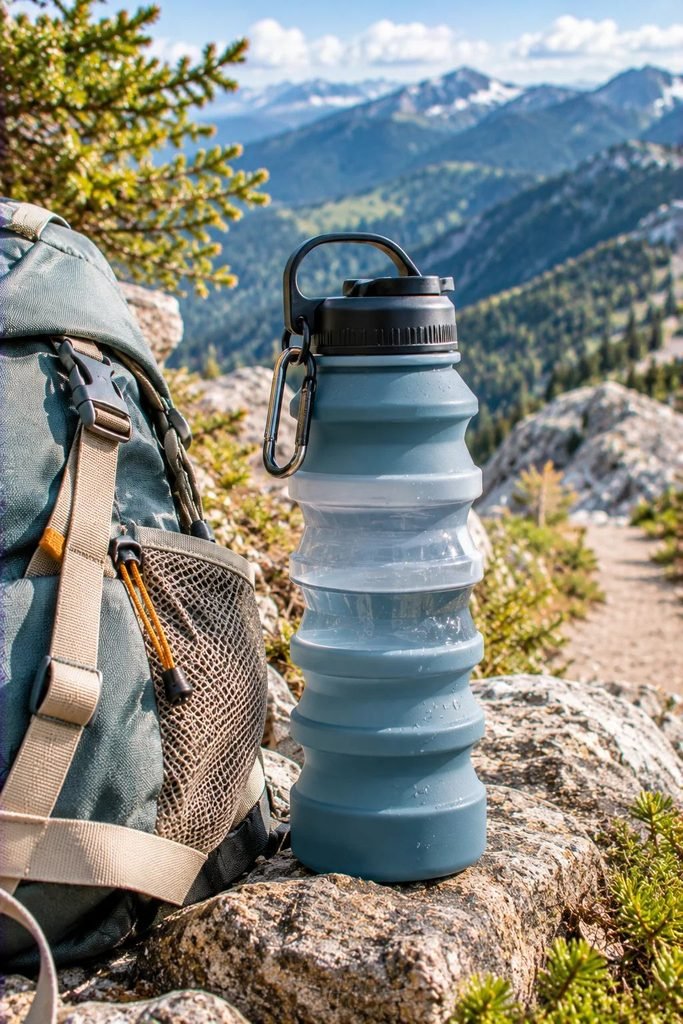
Traditional water bottles can take up valuable backpack space, especially when they’re empty. That’s where collapsible water bottles become incredibly convenient.
These bottles are designed to fold, roll, or flatten when they’re not being used. You can easily store one in a side pocket, hip belt pocket, or small compartment.
They are particularly useful for backpackers who want additional water capacity without carrying several rigid bottles.
What to look for:
- BPA-free food-grade materials.
- Leak-resistant cap.
- Durable flexible construction.
- Wide opening for easy filling.
- Lightweight design.
I recommend choosing a bottle that is easy to clean and doesn’t retain unpleasant odors. A soft bottle that rolls up when empty is especially useful when you’re trying to save space.
5. Ultralight Dry Bags
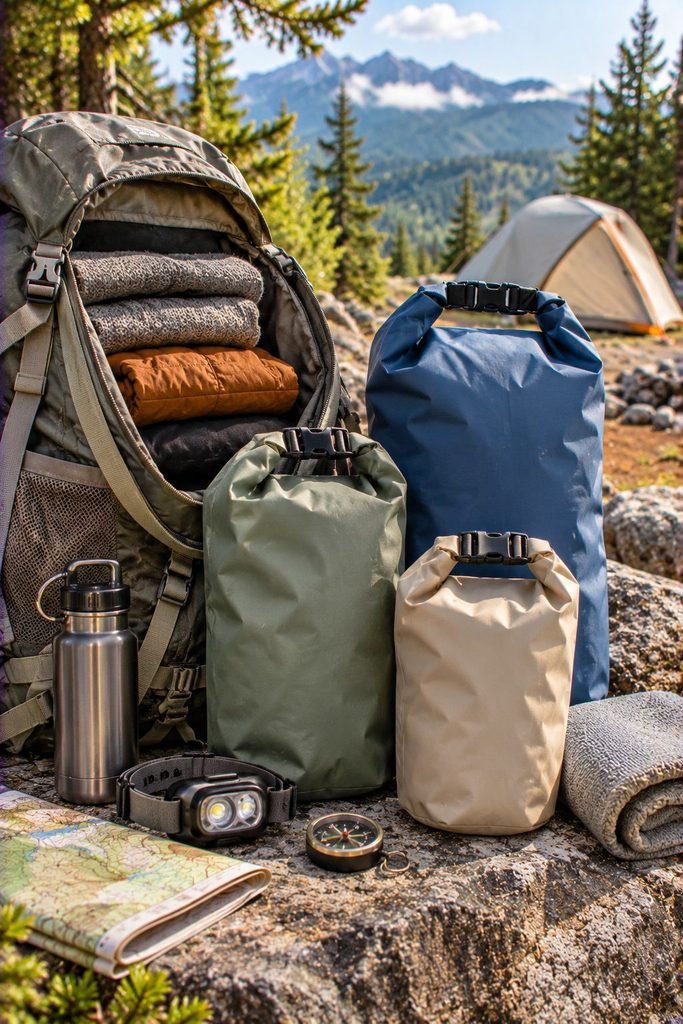
If there’s one thing you don’t want during a backpacking trip, it’s discovering that your spare clothes, sleeping layers, or electronics have become wet.
Ultralight dry bags help protect important belongings from rain, splashes, and damp conditions. They’re available in different sizes, making it easy to separate clothing, toiletries, electronics, and other essentials.
You don’t necessarily need a large collection. Two or three carefully selected bags can make organizing your backpack much easier.
What to look for:
- Lightweight waterproof fabric.
- Roll-top closure.
- Reliable sealed seams.
- Different sizes for different belongings.
- Bright colors for easy identification.
My tip: Use separate bags for clean clothes, electronics, and sleeping accessories. This makes it easier to find things without unpacking your entire backpack.
A waterproof pack liner is another excellent option for protecting the main contents of your backpack.
Read Check Out 15 Amazing Scenic Drives for Your Next Camper Van Trip in the UK
6. Mini Portable Power Bank
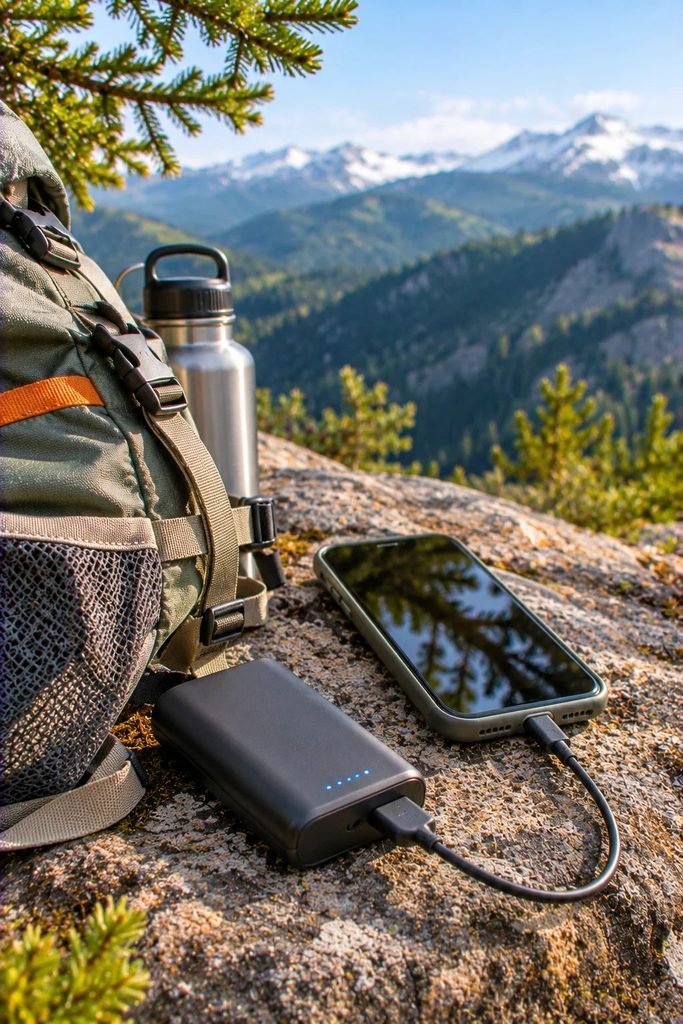
Your phone can serve several purposes during a backpacking trip, including navigation, photography, weather checks, and emergency communication.
However, using your phone throughout the day can quickly drain its battery. A compact power bank gives you a convenient way to recharge your devices when you’re away from electrical outlets.
You don’t need an enormous power bank for every trip. Choose a capacity that matches your devices, trip length, and charging requirements.
What to look for:
- Compact, lightweight construction.
- USB-C charging compatibility.
- Enough capacity for your planned trip.
- Reliable safety protections.
- Durable exterior.
My tip: Download offline maps before leaving, switch your phone to airplane mode when appropriate, and keep your power bank protected from extreme temperatures.
For remote backpacking adventures, remember that a regular power bank is not a substitute for a satellite communicator or personal locator beacon.
7. Compact Map and Compass
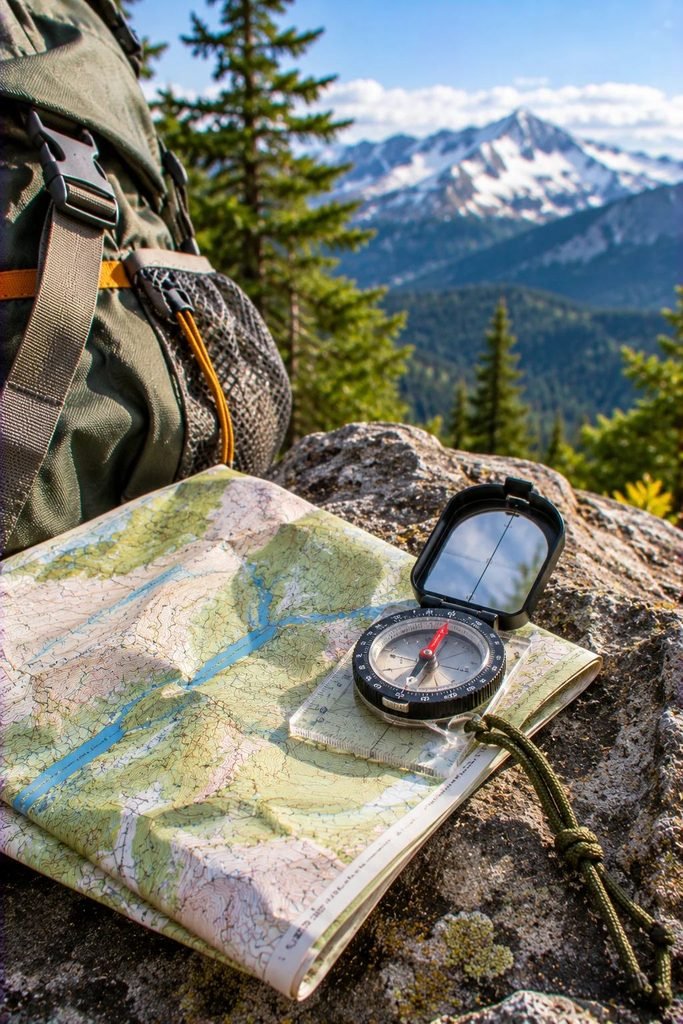
Even if you usually depend on your smartphone for navigation, carrying a physical map and compass is a smart backpacking habit.
Phones can lose battery power, become damaged, or struggle to receive a signal in remote locations. A traditional navigation setup gives you another way to understand your surroundings and stay on the correct route.
A lightweight baseplate compass and a folded topographic map take up very little space.
What to look for:
- Compact baseplate compass.
- Easy-to-read markings.
- Durable construction.
- Waterproof map or protective map sleeve.
- Maps that cover your actual hiking route.
It’s important to learn how to use your compass and read a topographic map before your trip. Simply carrying them isn’t enough.
My tip: Keep your map somewhere accessible rather than buried at the bottom of your backpack.
8. Small First Aid and Blister Kit
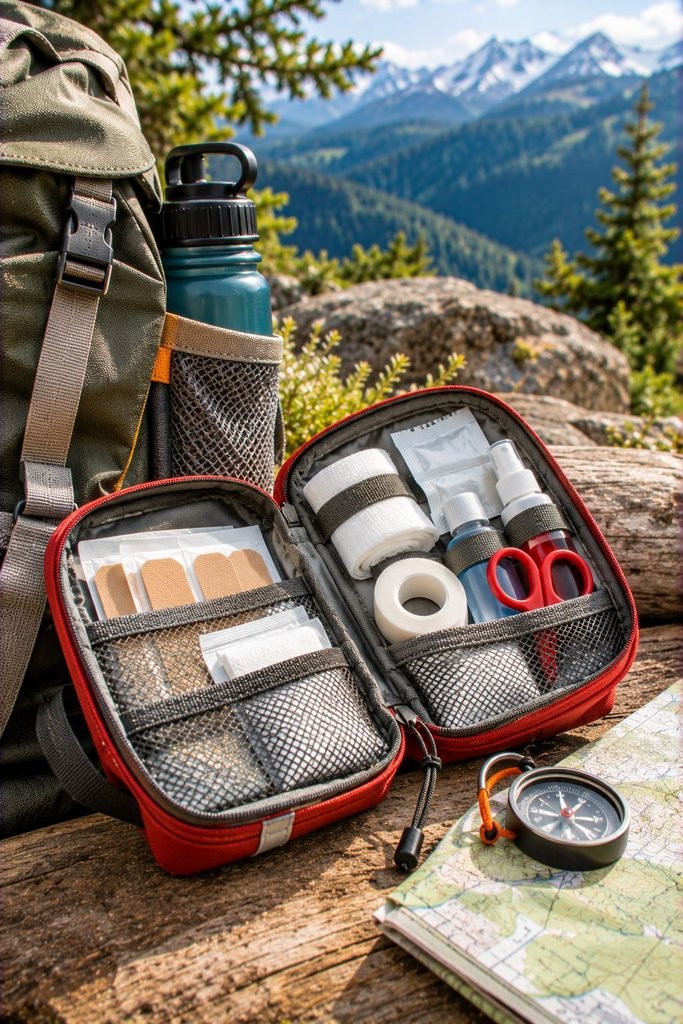
A first aid kit is one accessory I would never recommend leaving behind, even when you’re trying to keep your backpack as light as possible.
Small problems like blisters, minor cuts, and scratches can become uncomfortable when you’re several miles away from the nearest trailhead.
Instead of carrying a large household first aid kit, prepare a compact outdoor version with supplies suitable for your route and personal needs.
What to include:
- Adhesive bandages in different sizes.
- Blister dressings or moleskin.
- Antiseptic wipes.
- Gauze and medical tape.
- Tweezers.
- Any personal medications.
- Small gloves.
- Appropriate pain relief medication.
Your first aid kit should be customized to the length of your trip, group size, environment, and medical needs.
My tip: Check your kit before every backpacking adventure and replace anything that has expired or been used.
9. Emergency Whistle
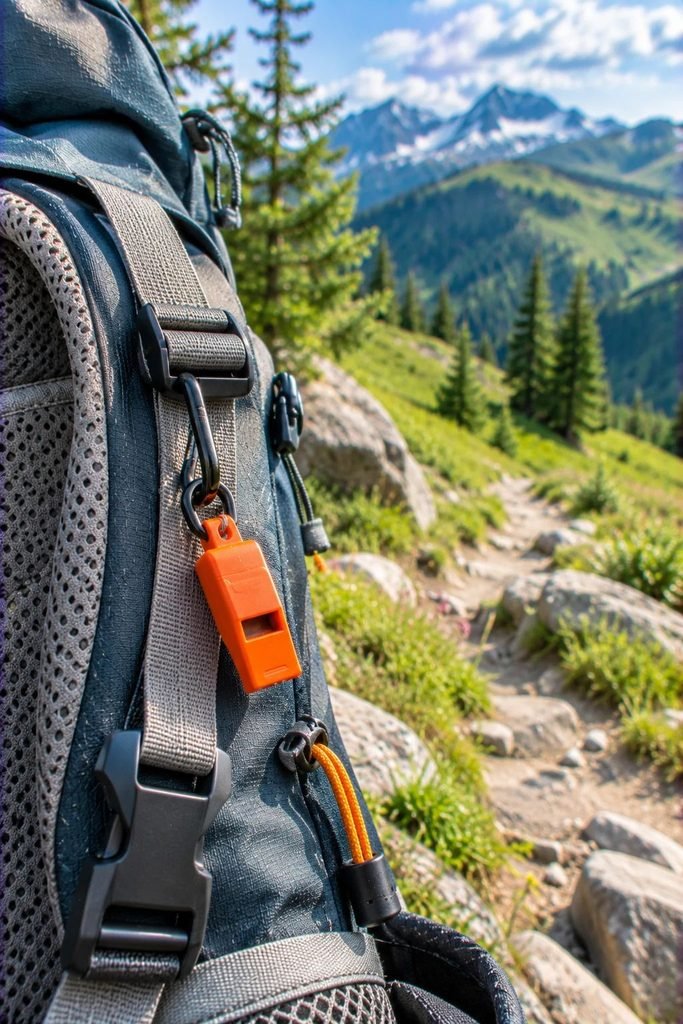
An emergency whistle is tiny, affordable, and easy to overlook, but it can be extremely valuable when you need to attract attention.
If you become separated from your hiking group, encounter an emergency, or need assistance, a whistle can help you signal other people without exhausting your voice.
Unlike shouting, using a whistle can produce a more consistent sound that may carry farther in certain outdoor environments.
What to look for:
- Lightweight plastic construction.
- Loud, clear sound.
- No moving parts that can easily break.
- Attachment loop or lanyard.
- Weather-resistant design.
Attach it to your backpack shoulder strap or another accessible location so you can reach it quickly.
My tip: Don’t pack your emergency whistle inside your main backpack. Keep it somewhere you can access immediately.
10. Lightweight Inflatable or Folding Sit Pad
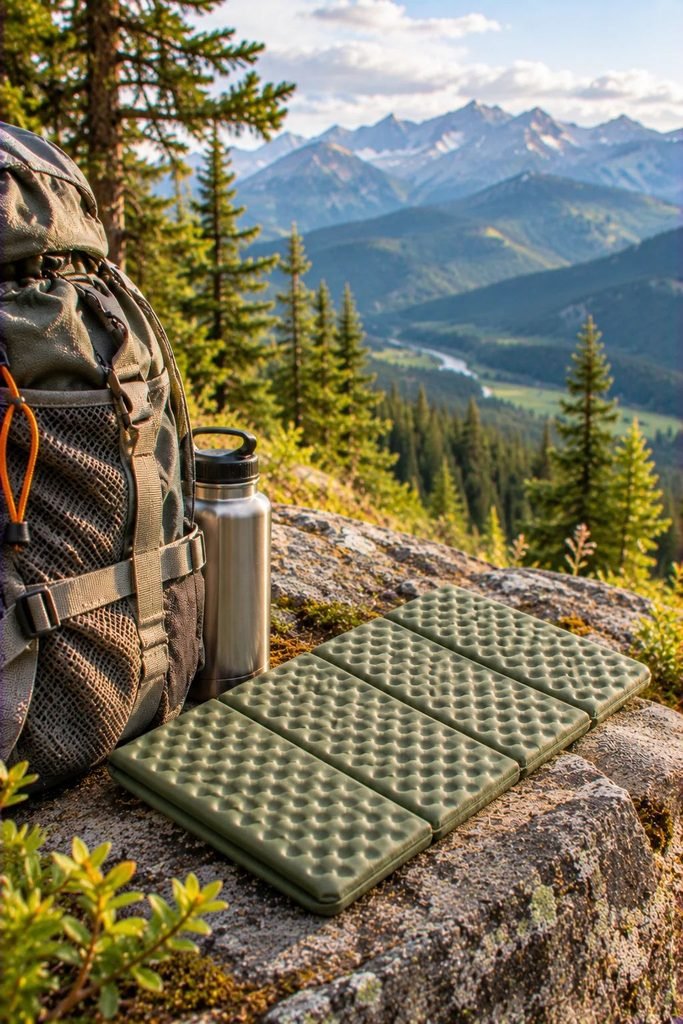
After walking for several hours, finding a comfortable place to sit can feel like a little luxury.
A lightweight sit pad provides a barrier between you and cold, wet, rocky, or muddy surfaces. It’s useful when taking snack breaks, enjoying mountain views, or resting at your campsite.
Some options fold into small squares, while inflatable versions pack down even smaller.
What to look for:
- Lightweight foam or inflatable material.
- Water-resistant surface.
- Easy-to-clean construction.
- Compact folding or packing design.
- Enough insulation for your conditions.
I particularly like folding foam pads because they don’t require inflation and are easy to pull out whenever you need a quick break.
This is an optional accessory, but it’s worth considering if you enjoy taking frequent rest stops.
11. Multifunctional Hiking Buff or Neck Gaiter
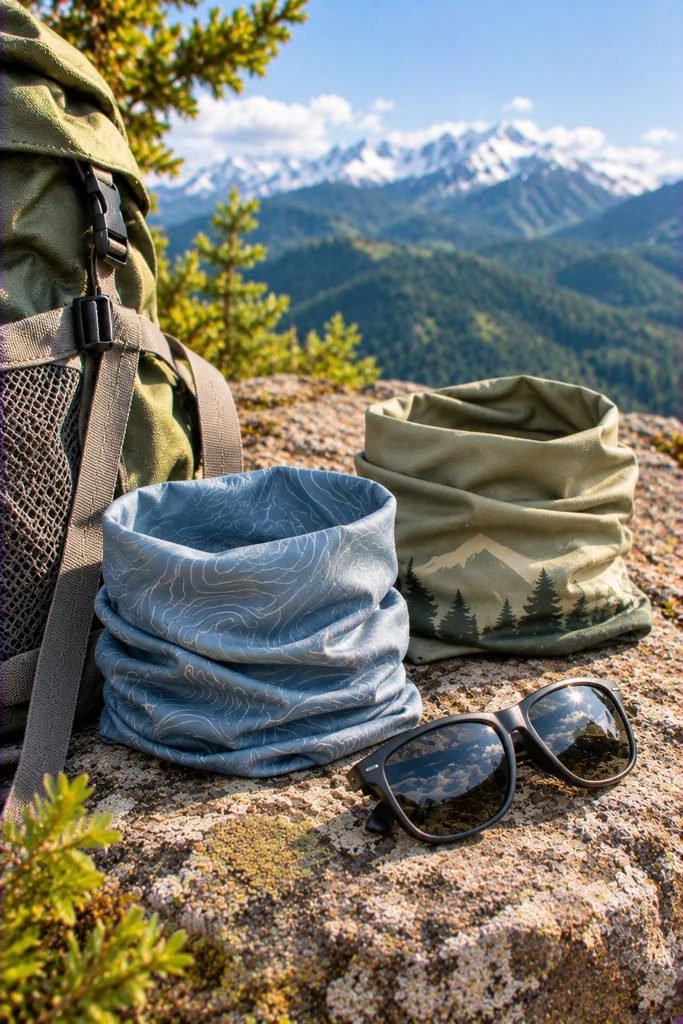
A hiking buff is one of the most versatile accessories you can carry. It’s a lightweight piece of fabric that can be worn in several different ways depending on the weather and your needs.
On sunny trails, you can use it to protect your neck from direct sunlight. On chilly mornings, it can provide additional warmth around your neck or ears.
It can also help keep dust away from your nose and mouth in suitable conditions.
Different ways to use a hiking buff:
- Wear it as a neck gaiter.
- Fold it into a headband.
- Use it as a lightweight head covering.
- Protect your ears from chilly winds.
- Keep sweat away from your face.
What to look for:
- Breathable, moisture-wicking fabric.
- Quick-drying material.
- Stretchy construction.
- Lightweight design.
- Comfortable seams.
Choose one that feels comfortable against your skin, especially if you’ll be wearing it for several hours.
12. Compact Sunscreen and SPF Lip Balm
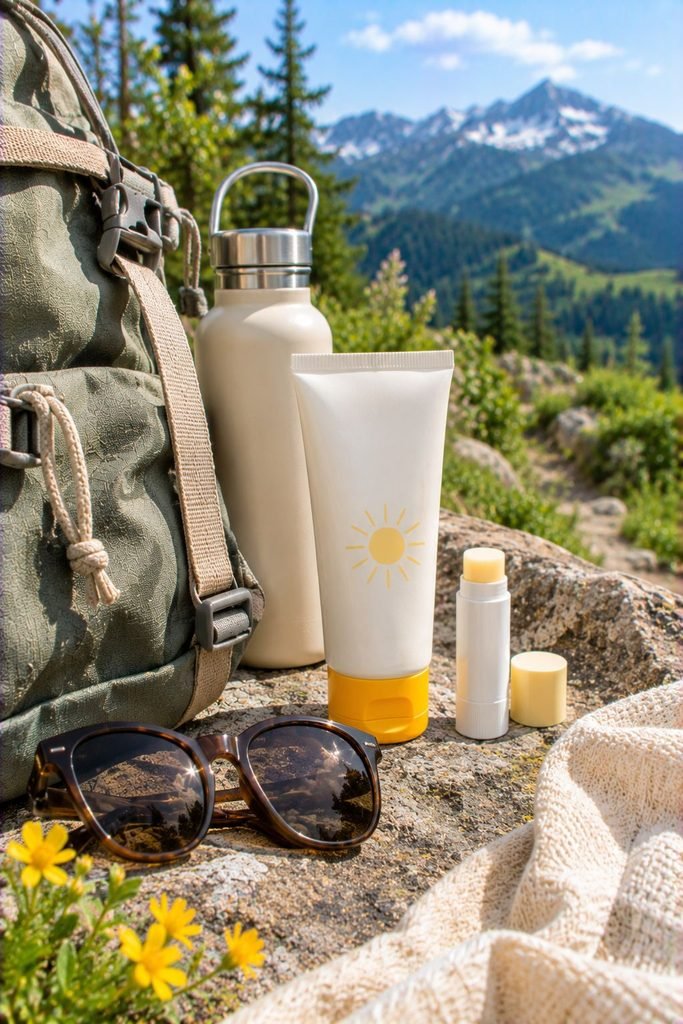
Sun protection is something every backpacker should take seriously. Even on cooler days, spending several hours outdoors can expose your skin to significant UV radiation.
Rather than packing large bottles, choose compact sunscreen containers and a small SPF lip balm that fit easily into your backpack’s hip belt pocket.
This makes it easier to reapply protection throughout the day without having to unpack your belongings.
What to look for:
- Broad-spectrum SPF 30 or higher sunscreen.
- Water-resistant sunscreen for sweaty activities.
- Compact packaging.
- SPF lip balm.
- A formula that works comfortably with your skin.
Don’t forget to protect commonly exposed areas such as your ears, neck, face, and hands.
My tip: Keep your sunscreen somewhere accessible so you actually remember to reapply it.
13. Quick-Drying Microfiber Towel
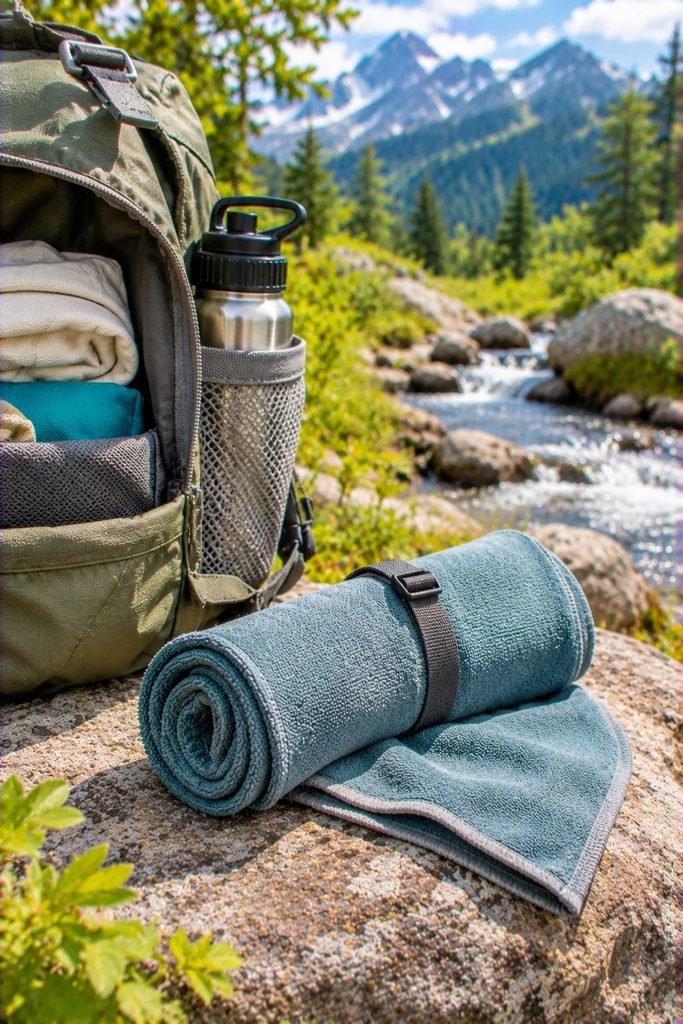
A regular bath towel is usually too bulky for a backpacking trip. A microfiber towel offers a much more practical alternative.
These towels are designed to absorb moisture while taking up considerably less space than many traditional towels.
You can use one to dry your face, wipe away sweat, clean your hands, or freshen up at camp.
They’re especially useful during multi-day trips when you want to maintain basic hygiene without carrying unnecessary weight.
What to look for:
- Compact, lightweight fabric.
- Quick-drying properties.
- Absorbent construction.
- Hanging loop.
- Washable material.
Choose a size that suits your needs. A small face towel may be enough for a short trip, while a medium-sized towel can be more convenient for overnight backpacking.
Remember to let it dry properly between uses to prevent unpleasant odors.
14. Ultralight Spork or Folding Utensil Set
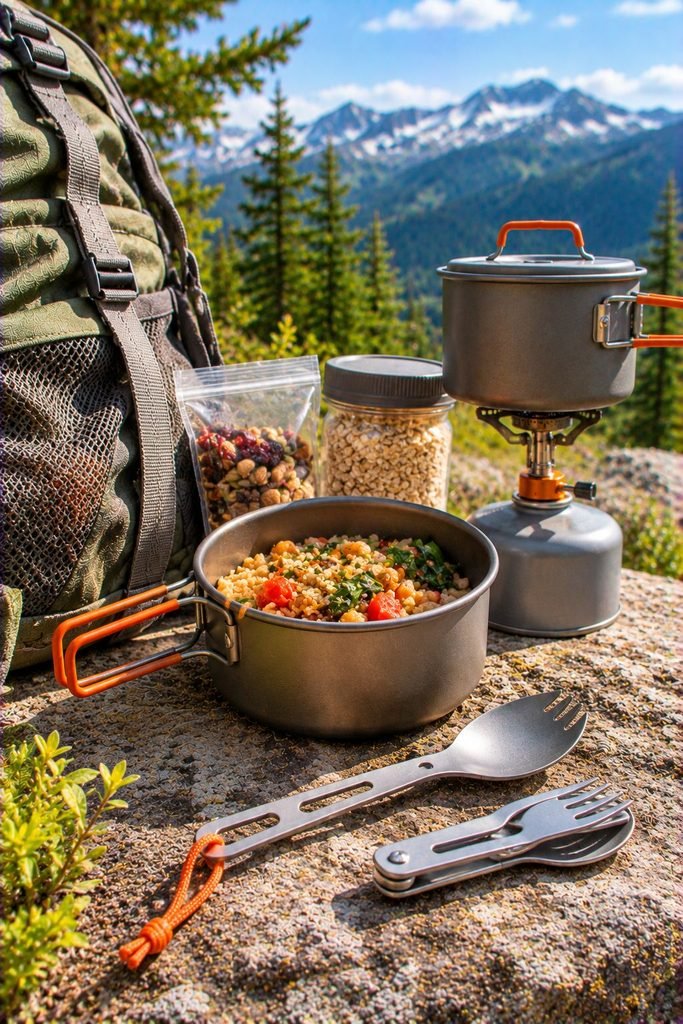
You don’t need to carry a full set of kitchen utensils when backpacking. A lightweight spork can handle most of your basic eating needs without taking up much space.
A spork combines a spoon and fork into one convenient utensil, making it perfect for eating trail meals, oatmeal, pasta, and other backpacking food.
If you prefer something more durable, titanium options are worth considering. Lightweight plastic versions can also work well for casual backpacking.
What to look for:
- Lightweight construction.
- Durable, food-safe material.
- Comfortable grip.
- Easy-to-clean design.
- Compact storage.
My tip: Attach your spork to your cooking kit or keep it in a small reusable pouch so you don’t accidentally leave it behind at camp.
You can also choose a folding utensil if saving storage space is particularly important.
15. Mini Gear Repair Kit
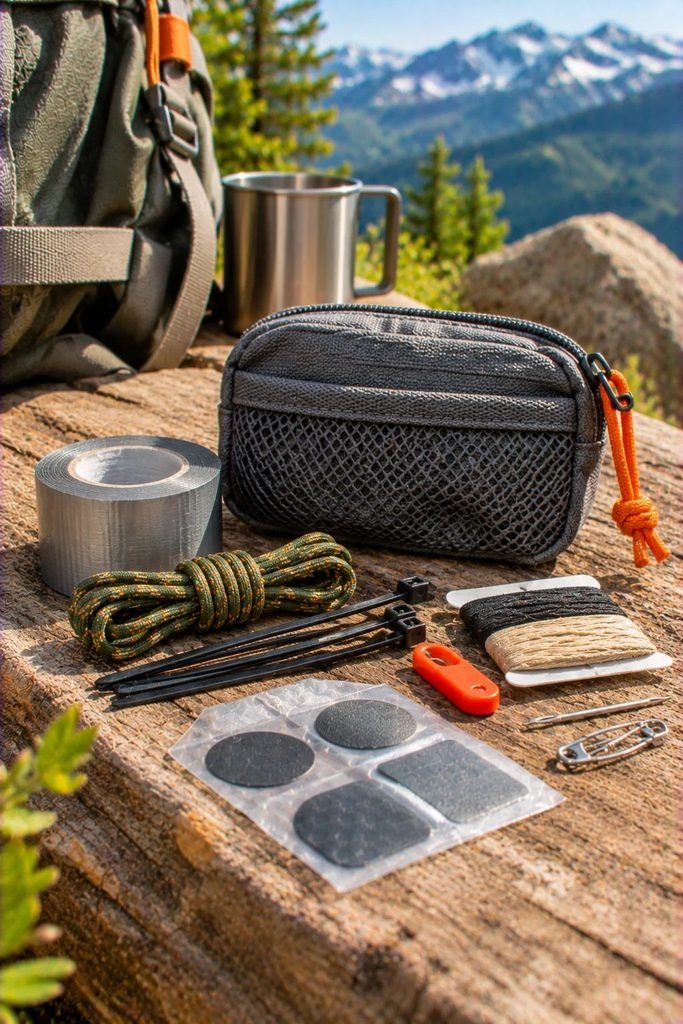
The final accessory on my list is a compact gear repair kit. Although it might seem unnecessary when you’re preparing for a short hiking trip, it can save you from frustrating situations.
Imagine discovering that your sleeping pad has a small puncture or your backpack develops a tear halfway through your adventure. Having a few basic repair supplies can make a big difference.
You don’t need to carry an entire toolbox. A small pouch containing multipurpose repair materials is usually sufficient for basic problems.
What to include:
- A small amount of duct tape.
- Lightweight adhesive repair patches.
- Needle and strong thread.
- A few zip ties.
- Spare cord.
- Sleeping pad repair patches if needed.
- Any manufacturer-specific repair items for your equipment.
My tip: Wrap a little duct tape around a trekking pole or water bottle instead of carrying an entire roll.
Test your repair supplies at home so you understand how to use them before something goes wrong on the trail.
How to Choose the Best Lightweight Hiking Accessories
Not every backpacker needs all 15 accessories. The best choices depend on your destination, hiking experience, weather conditions, and the length of your trip.
Here are a few things I recommend considering before purchasing new hiking gear.
1. Pay Attention to Weight
Check the actual weight of an accessory before adding it to your backpack. Some manufacturers list product weight without batteries, storage pouches, or other components, so check what’s included.
Small differences can add up when you’re carrying several accessories.
2. Choose Multipurpose Gear
Whenever possible, choose accessories that perform more than one function.
For example, a hiking buff can serve as a headband, neck covering, or face covering. A spork replaces multiple eating utensils, while a trekking pole can help with stability and balance.
Multipurpose accessories are particularly useful when you’re trying to minimize your pack weight.
3. Prioritize Durability
Lightweight doesn’t automatically mean better. An accessory that breaks halfway through your trip can create more problems than the extra weight you were trying to save.
Look for durable materials, reliable closures, and products designed for outdoor conditions.
4. Consider the Weather and Terrain
Your hiking destination should influence what you pack.
For example:
- Hot-weather hikes: Prioritize sunscreen, water filtration, breathable accessories, and extra water capacity.
- Cold-weather hikes: Consider insulated accessories, suitable lighting, and traction equipment when conditions require it.
- Rainy hikes: Pack waterproof storage, a reliable rain protection system, and quick-drying accessories.
- Rocky mountain trails: Trekking poles, navigation tools, and appropriate emergency supplies can be especially useful.
5. Don’t Sacrifice Safety to Save Weight
This is probably the most important consideration.
Trying to achieve an ultralight backpack should never mean leaving behind important safety equipment. Navigation tools, first aid supplies, lighting, emergency shelter, and adequate food and water should remain priorities.
Lightweight Hiking Accessories Packing Checklist
Here’s a quick checklist you can use when preparing for your next backpacking adventure.
My backpacking accessories checklist
15 packed Lightweight trekking poles, Compact rechargeable headlamp, Portable water filter, Collapsible water bottle, Ultralight dry bags or pack liner, Mini portable power bank, Map and compass, Compact first aid and blister kit, Emergency whistle, Lightweight sit pad, Multifunctional hiking buff, Compact sunscreen and SPF lip balm, Quick-drying microfiber towel, Ultralight spork, Mini gear repair kit
Reset checklist
Remember to adjust this checklist to your route, season, and personal requirements.
Frequently Asked Questions
What are the most important lightweight hiking accessories for backpackers?
Some of the most useful accessories include a headlamp, water filter, trekking poles, first aid kit, navigation tools, emergency whistle, and compact repair kit. These items can improve comfort, convenience, and preparedness without taking up too much space.
How can I make my backpack lighter without sacrificing comfort?
Start by checking the weight of everything you regularly carry. Remove duplicate accessories, replace bulky items with compact alternatives, and choose multipurpose equipment. However, avoid removing essential safety supplies just to reduce your pack weight.
Are lightweight hiking accessories worth buying?
Yes, particularly if you regularly go on multi-day hikes. Lightweight accessories can make carrying your backpack more comfortable and help you organize your equipment. You don’t need to replace everything at once; start with the items you use most frequently.
What is the best lightweight accessory for beginner backpackers?
A compact headlamp, collapsible water bottle, and small first aid kit are excellent starting points. They’re practical, easy to use, and useful on many different hiking trips.
How much weight should my hiking accessories add?
There isn’t one ideal weight for every backpacker. It depends on your route, trip length, personal needs, and the rest of your gear. Weigh your accessories individually and consider their combined weight rather than focusing on a single item.
Should I buy ultralight accessories for a day hike?
You can, but you don’t necessarily need specialized ultralight equipment for every day hike. Compact accessories are convenient for shorter adventures too, particularly when you’re trying to keep your daypack comfortable.
Final Thoughts
Backpacking is so much more enjoyable when your gear works with you rather than weighing you down.
I’ve learned that preparing for a great hiking adventure isn’t about bringing every accessory you can find; it’s about choosing items that make your journey safer, easier, and more comfortable.
From compact water filters and trekking poles to emergency whistles and multifunctional hiking buffs, these lightweight hiking accessories can make a noticeable difference on the trail.
Start with the essentials, consider the conditions you’ll encounter, and gradually build a collection of gear that suits your hiking style. Most importantly, remember that the best backpacking setup is one that keeps you comfortable and prepared while allowing you to enjoy the beautiful places you’re exploring.
Happy hiking!