
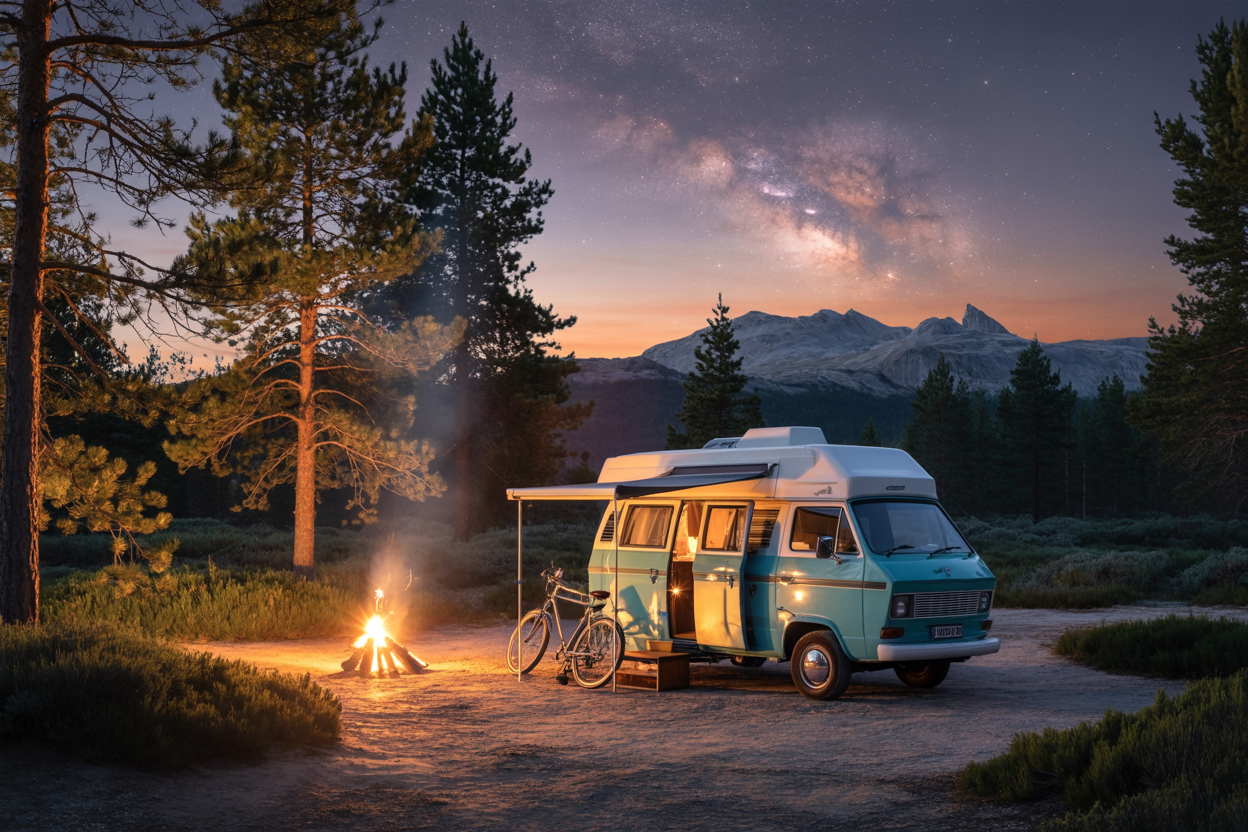
Want to sleep under big sky for free, wake to silence, and park your rig where the view is the attraction? You’re in the right place.
This guide walks you step-by-step through types of free camping, where to look, the rules you must follow, safety and comfort tips, the best regions to scout, and the exact tools and apps that make finding and legally staying at great free campsites easy.
I’ll also include practical checklists, sample trip plans, and smart ways to stay legal and leave no trace.
Quick TL;DR (if you’re skimming)
- The most reliable free camping is “dispersed” or “primitive” camping on public lands managed by the BLM (Bureau of Land Management) and the U.S. Forest Service.
- There are common stay limits (often ~14 days) and local rules — check the local BLM/Forest office before you go.
- Use the right apps and websites: Freecampsites.net, Campendium, iOverlander, and Recreation.gov are your best starting points.
- Follow Leave No Trace, obey fire and water setbacks, and be prepared (water, waste plan, toilet, permit when required).
What “free camping” actually means (types & quick definitions)
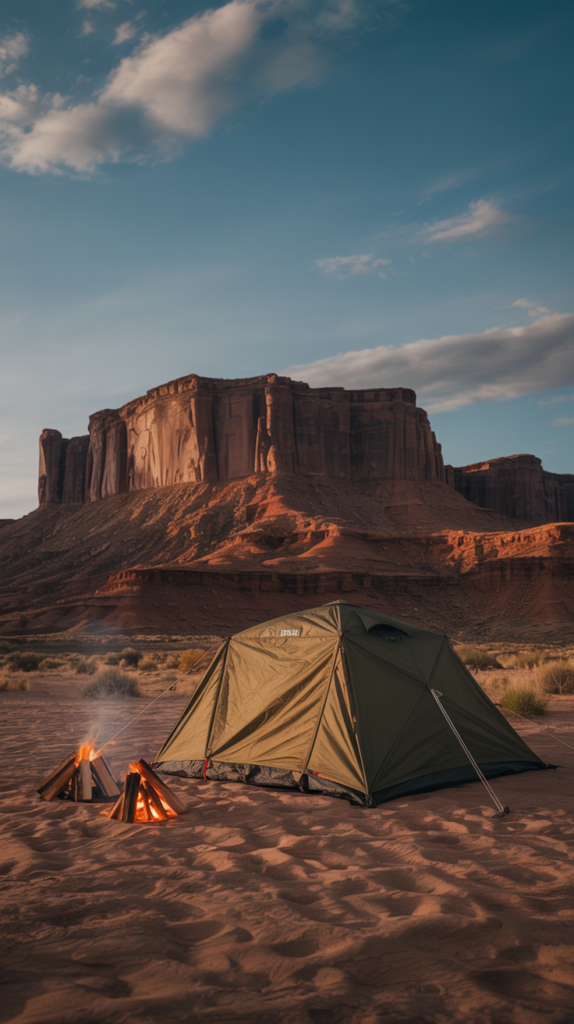
- Dispersed camping (most common): primitive camping outside developed campgrounds on National Forests, BLM land and some other public agencies. No hookups, first-come first-serve, usually free unless otherwise posted.
- Primitive or backcountry campsites: hike-in campsites found off trails; often free in national forests and many parks (but check the park rules).
- National grasslands, some state lands, Corps of Engineers sites: occasional free or very cheap spots varies by location.
- Stealth/urban car camping & private parking (Walmart, casinos, church lots): sometimes allowed but highly variable and not the same as public lands camping; always ask permission and follow local rules. (Local policies vary check with managers.)
Why “dispersed” is the gold standard: it’s legal on large swaths of public land (especially in the West), plentiful, and offers solitude Cas long as you follow local restrictions and stay limits.
Where to find the best free camping (practical directions)

Public land managers to focus on
- BLM (Bureau of Land Management) especially the Intermountain and Southwest BLM offices. Tons of dispersed sites in the West; rules and stay limits are posted by office.
- U.S. Forest Service (National Forests) dispersed camping is allowed broadly unless posted otherwise; rules often include distance from water/roads and stay limits.
- National Grasslands, Corps of Engineers, some state conservation lands scattered free or low-cost sites; check local agency pages.
- National Parks generally not a reliable source of free, undeveloped camping; some parks have backcountry permits or a few first-come spots but most front-country sites are paid/reservable via Recreation.gov. Always use official park pages.
Regions that are especially generous for free camping
- American West (UT, AZ, NM, NV, ID, MT, WY, CO) BLM + National Forests offer huge amounts of dispersed camping.
- Pacific Northwest National Forests lots of forest road pullouts and slick dispersed sites (watch for wet season / logging closures).
- Great Plains & National Grasslands surprising, quiet free sites with wide horizons.
- Certain parts of the Southeast and Midwest Corps of Engineers and state properties sometimes have free primitive sites; less widespread but worth checking.
(Exact “best spots” lists shift year-to-year use the apps/resources below for current user reports.)
Rules you MUST know before you park (short and non-negotiable)
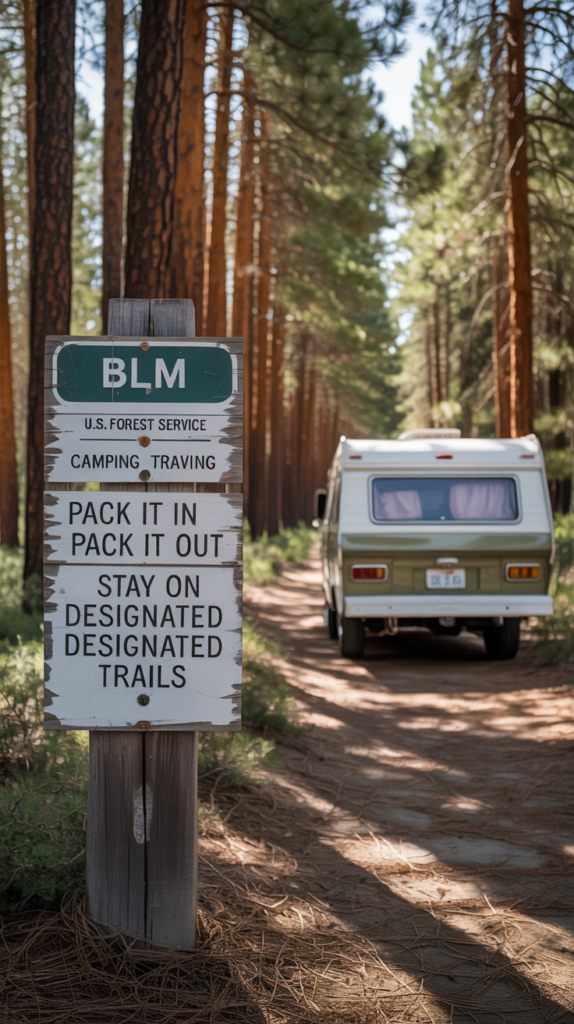
- Camping time limits many BLM areas and some Forest Service regions enforce a 14-day limit in a 28-day period (or similar variants). After the limit you usually must move a set distance (e.g., 25 miles or a different office-specified distance). Always verify the specific field office rules before assuming you can stay long-term.
- Stay away from sensitive zones — don’t camp within posted closures, within set distances from water, meadows, or trails if rules forbid it; many agencies specify distances (like 100–200 ft from water or trails).
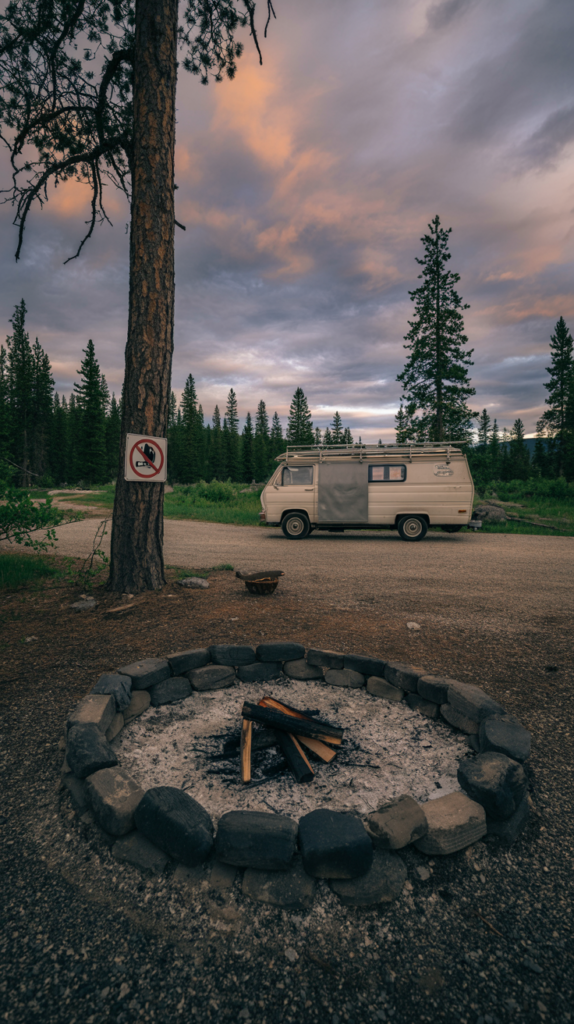
- Use existing pullouts/campsites — where possible, use previously used spots to minimize impact.
- Fires — fire rules change rapidly (seasonal bans common). Always check current fire restrictions for the district/forest/BLM office. Never assume campfires are allowed.
- Permits — some special places (certain backcountry or wilderness areas, or certain national monuments) require permits. National Park front-country spots usually require reservations. Check Recreation.gov or the local land manager.
The tools & websites that actually work (use these every trip)
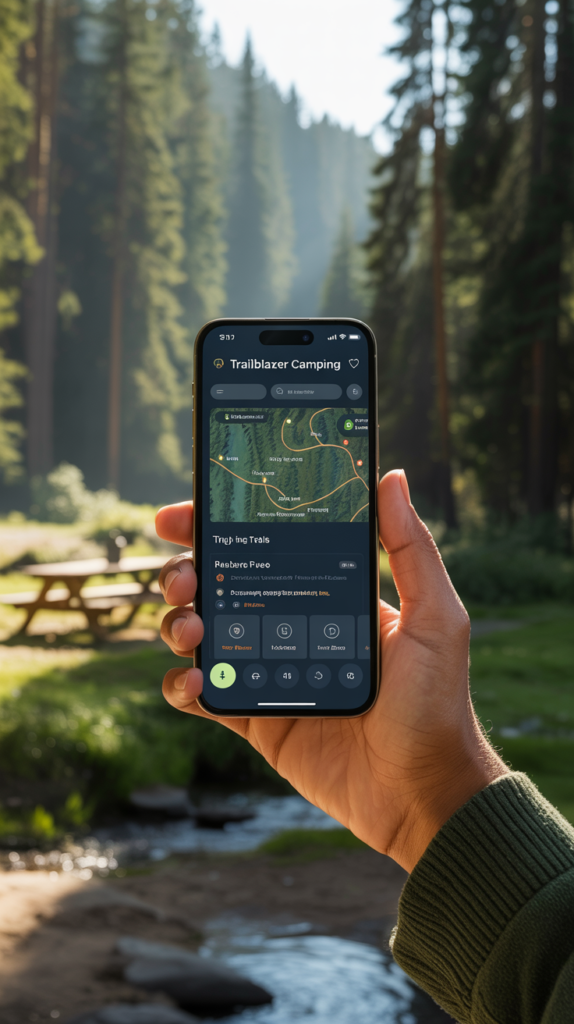
- Freecampsites.net — crowd-sourced map & trip planner focused on free and cheap camping. Good for initial scouting.
- Campendium — solid database with RV-friendly free sites and user reviews/photos; great for real-world rig info.
- iOverlander (app/website) — crowd-sourced with traveler notes; excellent for recent, on-the-ground reports (be cautious and verify legality). i
- Recreation.gov — required when dealing with national parks, some national forest permit systems, and reservable campgrounds; official source for lots of permit/reservation info.
- Local BLM/USFS office pages — the single most authoritative source for rules and camping restrictions in a district. (Search “BLM [field office] camping” before you go.)
Tip: cross-check user-reported apps (iOverlander/Campendium) with the official BLM/Forest office page for the area — that prevents accidentally camping where it’s illegal.
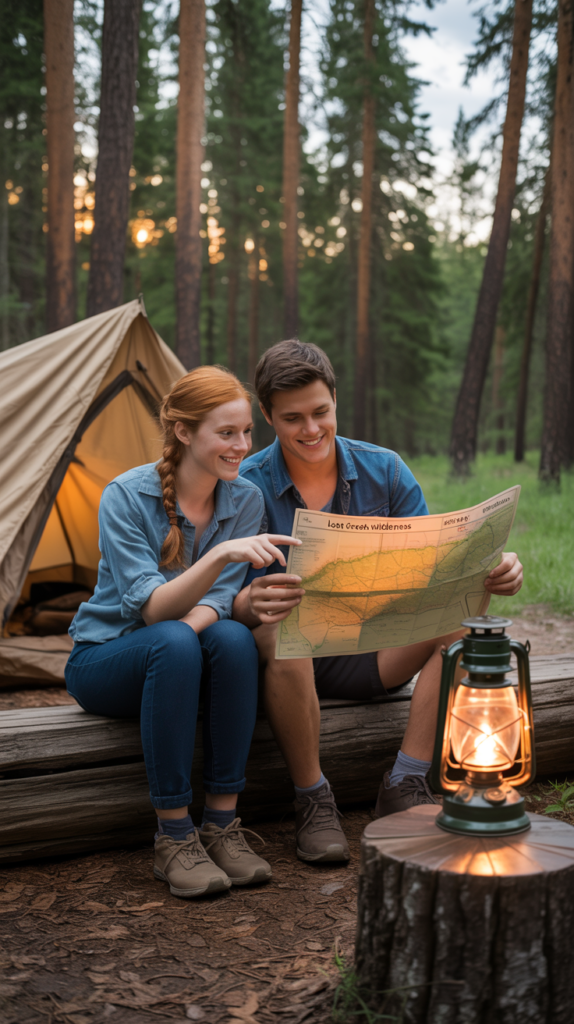
How to research a free campsite (step-by-step)
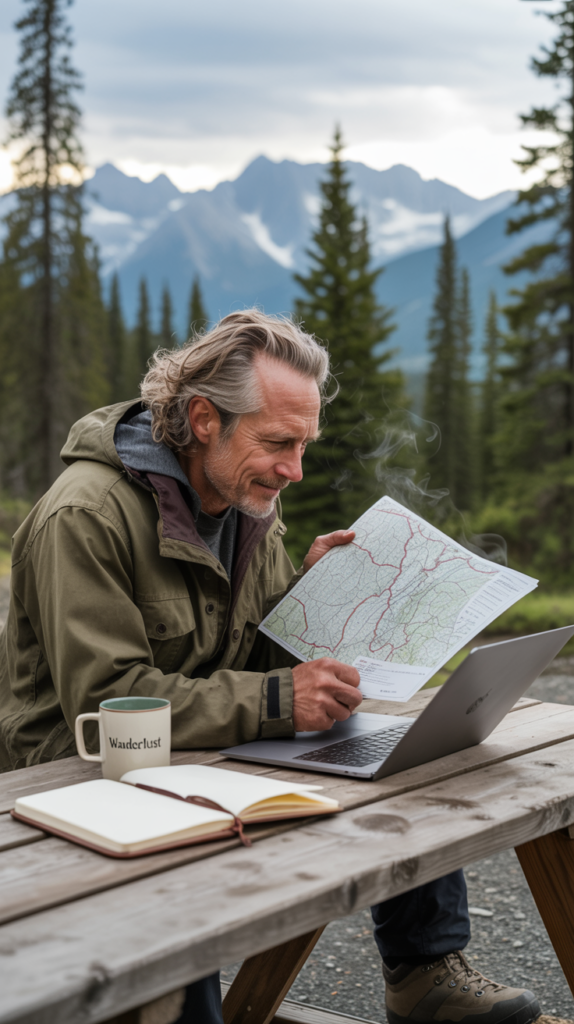
- Pick a region (example: “near Moab, UT” or “White River National Forest”).
- Search Freecampsites / Campendium / iOverlander for pins in that region — read recent reviews and photos.
- Open the local BLM or USFS district page (search “[area] BLM camping” or “[National Forest] dispersed camping rules”) — check for closures, stay limits, and fire restrictions.
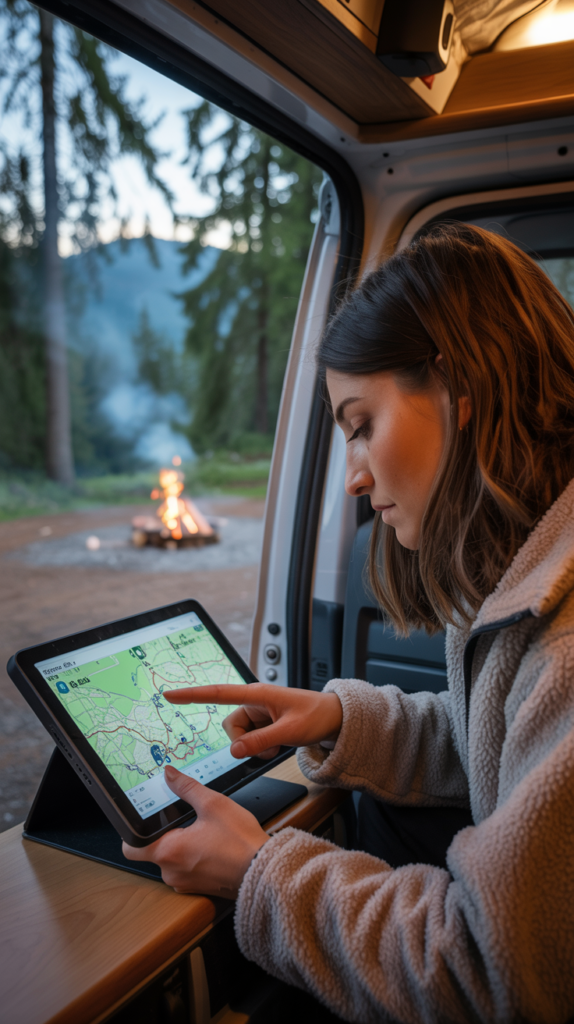
- Zoom the topo/forest roads on a map app (Gaia GPS, Google Maps, or the Forest Service interactive map) to confirm access roads and distances. (If you have a large rig, check road class on Campendium photos.)
- Call the local field office if you’re unsure — a 2-minute phone call can save big trouble. (Often faster than reading a dozen ambiguous forum posts.)
- Plan your water & waste strategy — if no potable water on site, bring enough or a plan to resupply. Pack out everything if there’s no trash service.
Sample search scenario (so you can copy/paste a workflow)
Goal: “Find free dispersed camping near Flagstaff, AZ.”
- Open Campendium / Freecampsites and search “Flagstaff, AZ — free camping.”
- Note candidate Forest Road numbers or coordinates.
- Look up the Coconino National Forest dispersed camping rules on the Forest Service page and check for restrictions/seasonal closures.
- Call the Coconino NF district office (number on the USFS site) to confirm road access for your vehicle type.
- Arrive mid-afternoon (after checking weather/fire closures), pick an existing pullout >100–200 ft from water/trails, set up, and follow Leave No Trace.
Safety & comfort — what to prepare (detailed checklist)
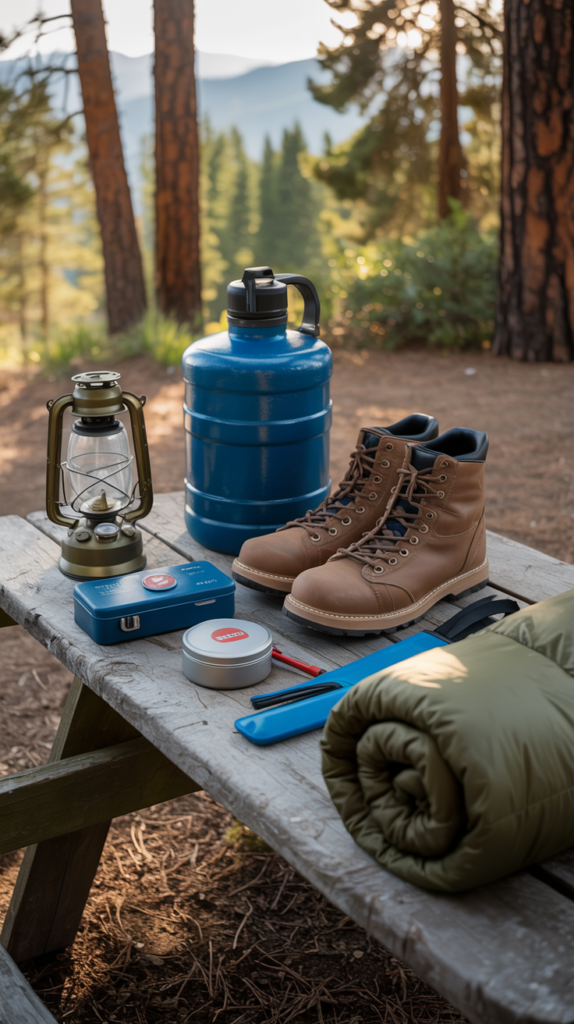
Essentials
- Water: minimum 2–4 liters per person per day for moderate conditions; more in heat. Carry a spare supply.
- Waste kit: wag bags or a proper portable toilet (pack out human waste if required), extra trash bags.
- Fire tools: shovel, fitted metal bucket for coals (if fires allowed), fire pan if you plan to contain a fire. Check current fire restrictions.
- Navigation: offline maps (Gaia GPS, Maps.me), compass, topographic map, and full address/waypoints of the field office.
- Communications: phone + battery bank; consider a satellite communicator for remote regions.
- First aid kit, repair kit, tire repair inflator.
- Bear safety: in bear country use bear canisters or hang food; check local Forest/BLM rules.
Vehicle/RV-specific
- Fuel: top up before heading into remote areas.
- Rig access: know your vehicle length/clearance for dirt roads use Campendium/user photos to check approach roads.
Leave No Trace basics (the rules that save access for everyone)
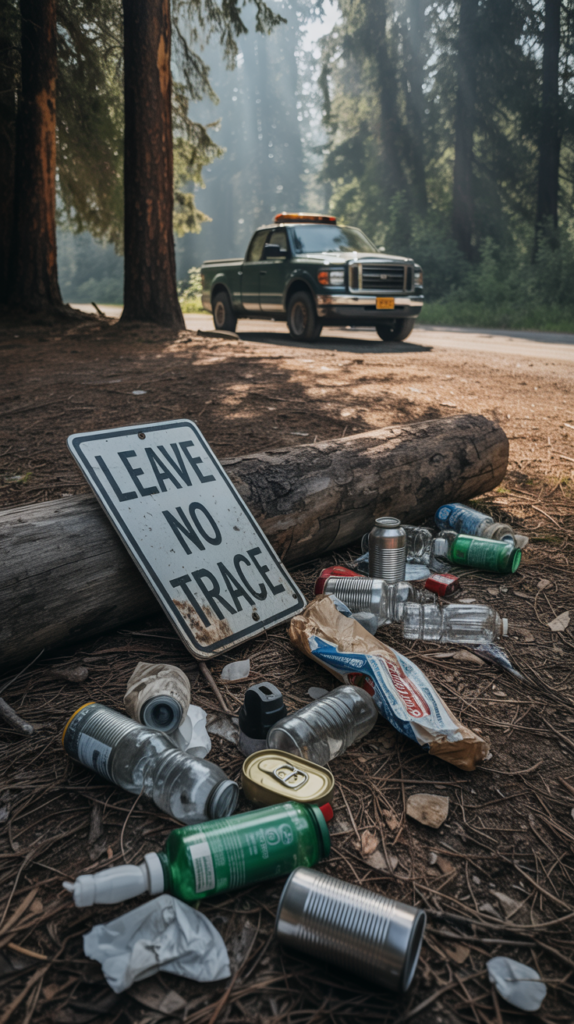
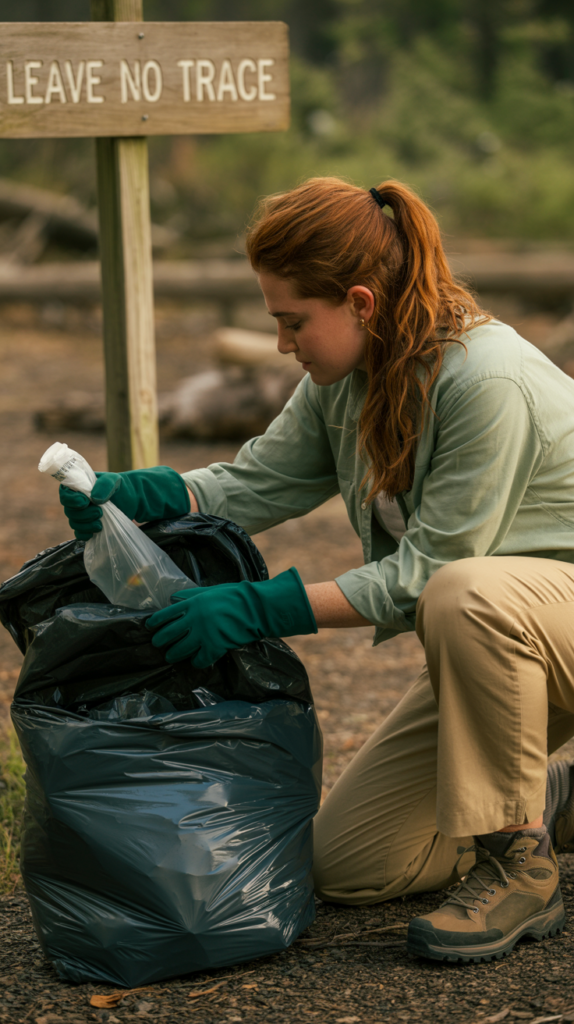
- Pack out all trash & toilet paper; burying waste is often prohibited; use wag bags if required.
- Camp on durable surfaces and use existing sites. Do not create new fire rings.
- Keep pets under control; avoid loud generators at night.
- If you find a damaged historical/cultural site, do not touch anything report it to the field office.
Fire, seasons, and evolving rules — what to watch for in 2025 (and beyond)
Land managers are actively updating rules to balance recreation and protection.
For example, BLM and USFS publish local fire restrictions and may change camping rules seasonally.
n some places, new rules have tightened stay limits, regulated long-term parking, or temporarily closed areas due to resource damage.
Always check the local field office web page for the most recent guidance before visiting.
Real examples (good starting areas & why)
- Moab area (UT) — lots of BLM road pullouts and dispersed areas near Canyonlands; very popular, so expect crowding in peak season. (Check BLM field office rules.)
- Southwest BLM deserts (AZ, NM) — many free boondocking spots; great for stargazing.
- Bridger-Teton National Forest (WY) — scenic dispersed sites near Tetons (popular & often enforced stay limits).
- National Grasslands (Great Plains) — peaceful, inexpensive options if you want big sky and solitude.
For a more curated list of specific free sites, check reputable lists (Outside, local blogs, Campendium) but always verify on the local manager’s page before you go. Z
Common mistakes that get people kicked out (or fined)
- Ignoring posted signs and closures (site closed = illegal).
- Camping too close to water, trails, or trailheads where prohibited.
- Leaving trash or human waste — fastest way to lose access for everyone.
- Staying beyond local stay limits or not moving the required distance when the time limit expires.
- Relying only on user reports (iOverlander/Campendium) without checking official sources — user reports can be stale or inaccurate.
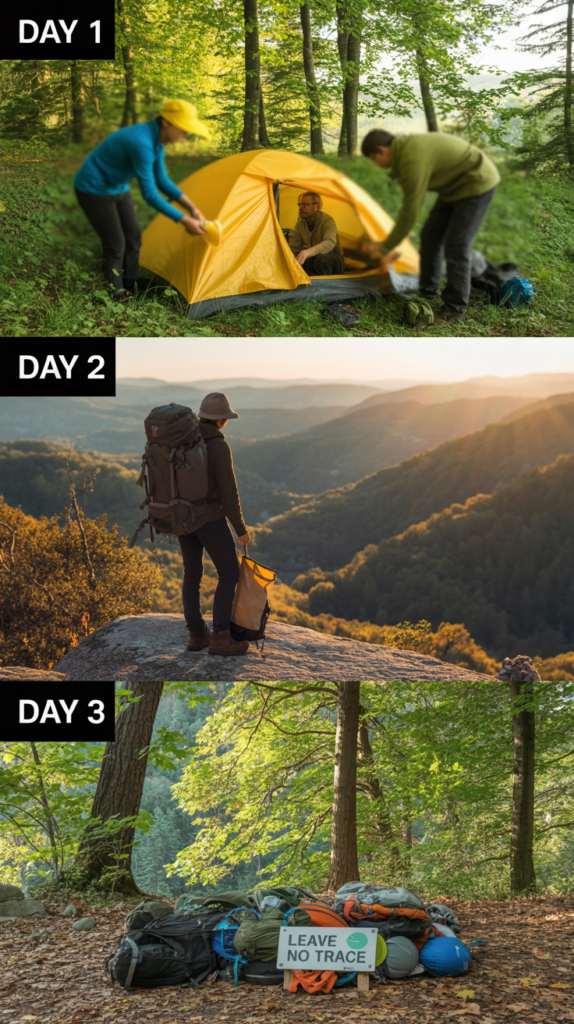
Example 3-day free camping itinerary (Southwest BLM loop)
Day 0 — scouting: use Campendium and Freecampsites to pick 2–3 candidate spots near your target town. Call the local BLM office to confirm access.
Day 1 — arrive & set base: arrive mid-afternoon, choose an existing site >150 feet from roads/water, set camp; observe fire restrictions.
Day 2 — explore: day hikes or nearby attractions. Pack out lunch, keep camp clean.
Day 3 — move or continue: if you’ve hit the local stay limit, move to another dispersed site >25 miles away or return to town for a paid campground/resupply. Verify limits with the field office.
How to be a responsible free camper (so the resource stays open)
- Always use existing sites and avoid enlarging them.
- Pack out what you bring in — and what others leave behind if you can.
- Be quiet at night and respect private land boundaries.
- Report problems to the land manager (illegal dumping, excessive resource damage). This helps protect access.
- Share accurate reviews on apps, but also flag illegal camping so others know.
Advanced tips for rigs, vans, and RVs
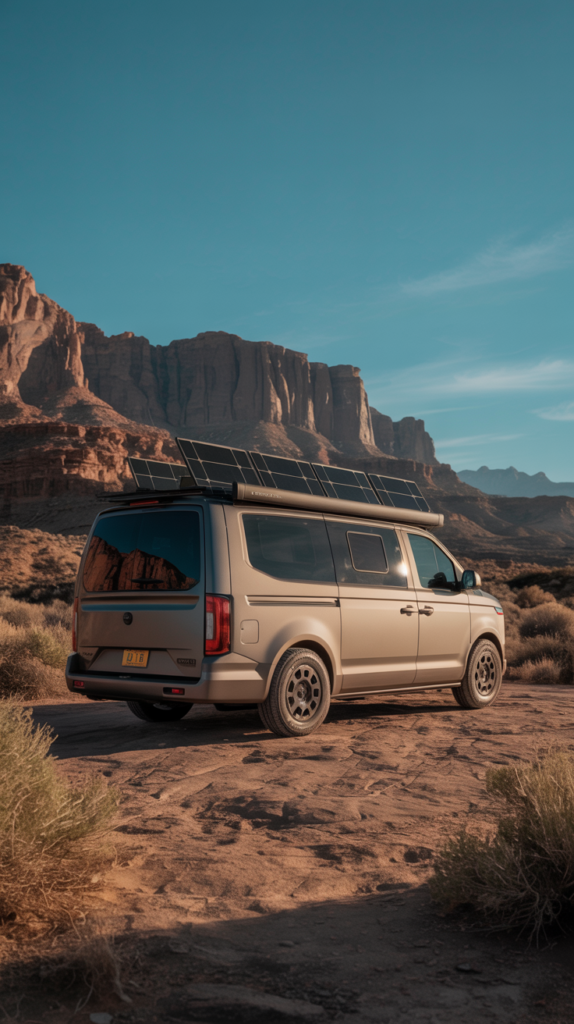
- Rig size matters: many dispersed roads are narrow, steep, or sandy. Campendium reviews and photos are gold for rig compatibility.
- Solar & batteries: great for longer stays; but understand you still need to obey generator rules/noise curfews.
- Blackwater: never dump — use dump stations in towns or RV parks. Pack a portable waste tank if needed.
- Leveling & traction gear: carry traction boards and a robust jack for soft-sand or rocky pullouts.
Downloadable packing checklist (compressible for mobile)
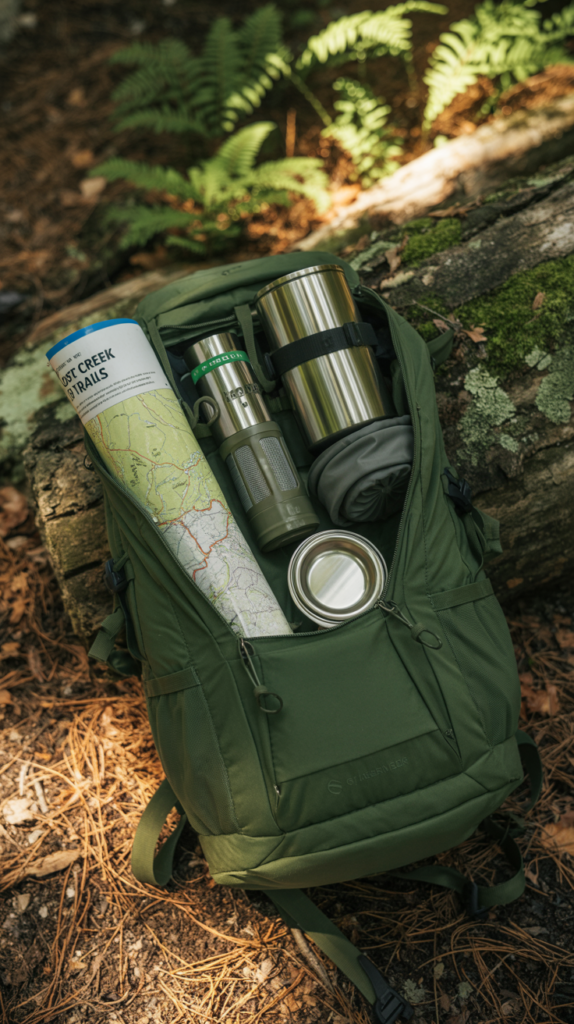
- Water, extra jugs
- Food & bear-proof containers
- Portable toilet / wag bags / trowel (if permitted)
- Trash bags (leave no trace)
- Shovel & fire containment tools
- First aid kit
- Map + GPS with offline maps
- Phone charger / powerbank / solar
- Warm clothes + rain gear
- Headlamp + extra batteries
- Tire repair & recovery kit
- Fuel & spare oil
(Use the above as a quick mobile screenshot when you head out.)
Final checklist before you leave the house (copy/paste)
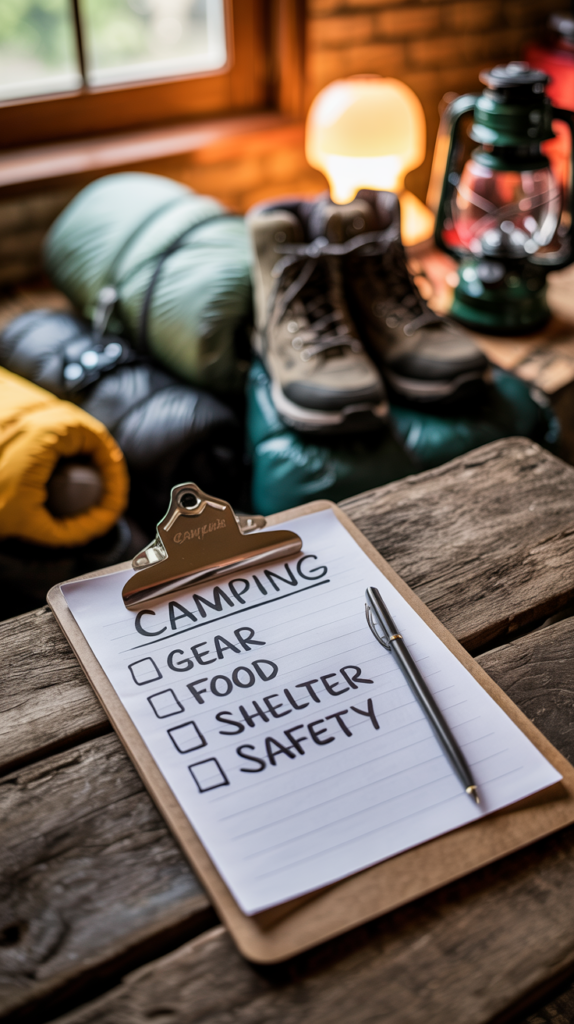
- Check the BLM/Forest Service district page for your target area for closures/fire restrictions.
- Check recent user reports on Freecampsites, Campendium, and iOverlander for approach and access. f
- Pack at least twice your expected water usage if remote.
- Notify a friend/family member of your rough route and expected check-in time.
- Carry a printed map and the phone number of the local field office.
Where to learn more / further reading (official & user resources)
- BLM Camping & Recreation pages (official guidance & local office links).
- U.S. Forest Service dispersed camping pages for the national forest you’ll visit.
- Freecampsites.net (map + community tips).
- Campendium (RV-focused reviews and road/access details).
- Recreation.gov (for national park reservations and permits).
Closing thoughts — how to get the most from free camping (and keep it legal)
Free camping is one of the most rewarding ways to travel: it reduces costs, increases flexibility, and connects you directly to the landscape. The key to keeping those opportunities available for everyone is simple: be informed, follow the rules, and leave no trace. Use official land manager pages, cross-check crowd-sourced apps, and plan your water/waste strategy before you go. When you do this, you’ll have the best possible free camping experiences while protecting wild places for the next person who wants to sleep beneath the stars.


