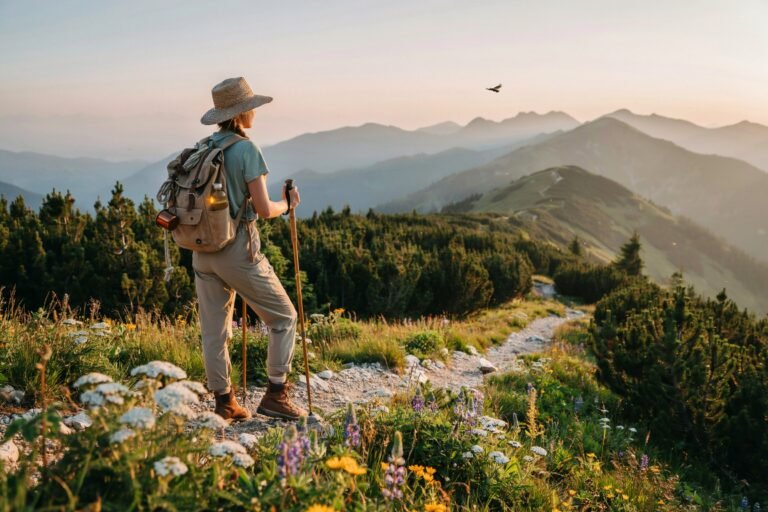
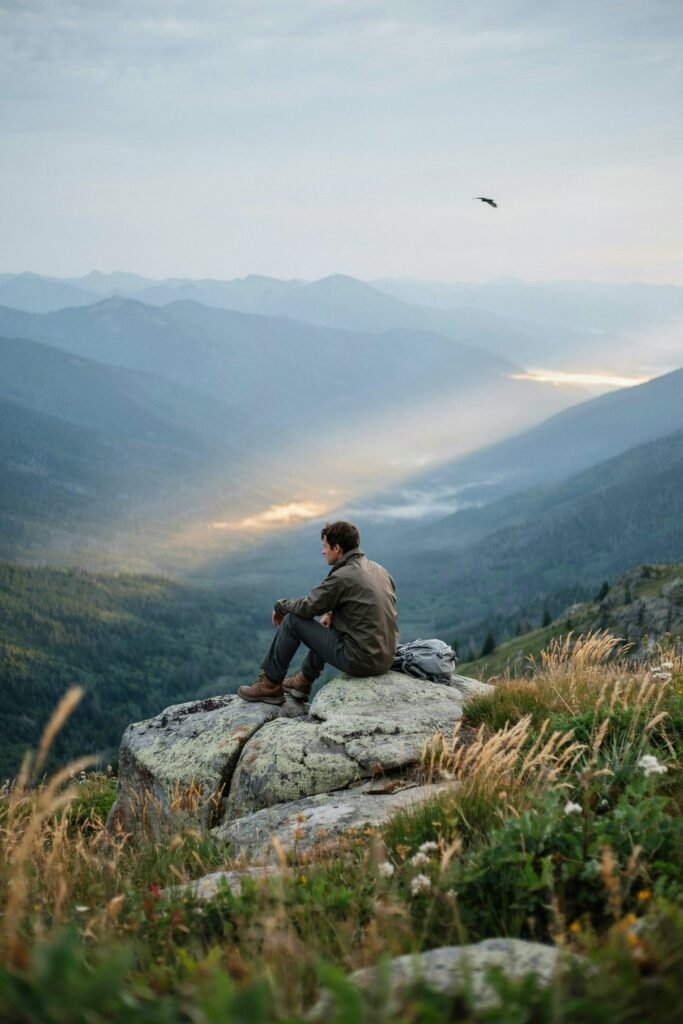
I still remember the first time I hiked for six hours without seeing another human being.
No selfie sticks, no bottlenecks at the summit, no waiting in line for a photo at the overlook just birdsong, my own footsteps, and a view I had completely to myself.
That hike changed how I plan every trip since. I stopped chasing the trails everyone posts about and started learning how to find the ones nobody talks about.
This guide shares everything I’ve learned about locating those hidden gems, what to pack, and how to stay safe when you’re far from the crowds and often far from help too.
1. Why Hidden Trails Are Worth the Effort
Popular trails earn their popularity for good reasons accessibility, stunning views, well-marked paths.
But that popularity comes at a cost: parking lots that fill up before sunrise, eroded trails from overuse, wildlife pushed further from their habitat, and an experience that can feel more like a queue than a communion with nature.
Hidden trails offer something different.
They demand more preparation, more self-reliance, and more respect but they return that investment with genuine quiet, undisturbed wildlife encounters, and the kind of mental reset that’s hard to find when you’re sharing a narrow ridge with fifty other people.
They also tend to be gentler on the land, since lower foot traffic means less erosion and less habitat disruption, provided everyone who visits practices good trail ethics.
2. How to Find Uncrowded Hiking Trails
This is the part most guides skip, but it’s the most valuable skill you can develop. Here’s exactly how I locate trails that aren’t flooded with hikers.
Use Government and Land Management Resources Directly
Skip the popular hiking apps for your first pass and go straight to the source:
- U.S. Forest Service (USFS) websites list trails by ranger district, often including lightly used paths that never made it onto commercial apps.
- Bureau of Land Management (BLM) recreation pages cover vast tracts of public land with minimal signage or promotion — a strong sign of low traffic.
- State park and county park departments frequently maintain smaller trail networks that are overshadowed by a flagship trail nearby. Ask specifically about the “secondary” or “connector” trails.
- National Park backcountry offices can point you toward less-traveled routes within parks that are otherwise packed on the main corridors. Rangers know which trails see five hikers a week versus five hundred a day.
Talk to Local Outdoor Shops and Rangers
A five-minute conversation with a ranger station employee or a local gear shop staffer can outperform hours of app scrolling.
Ask a specific question: “What’s a trail near here that doesn’t show up on the popular apps?” Most outdoor professionals have a mental list of quiet favorites they’re happy to share if you ask sincerely and show you’ll respect the land.
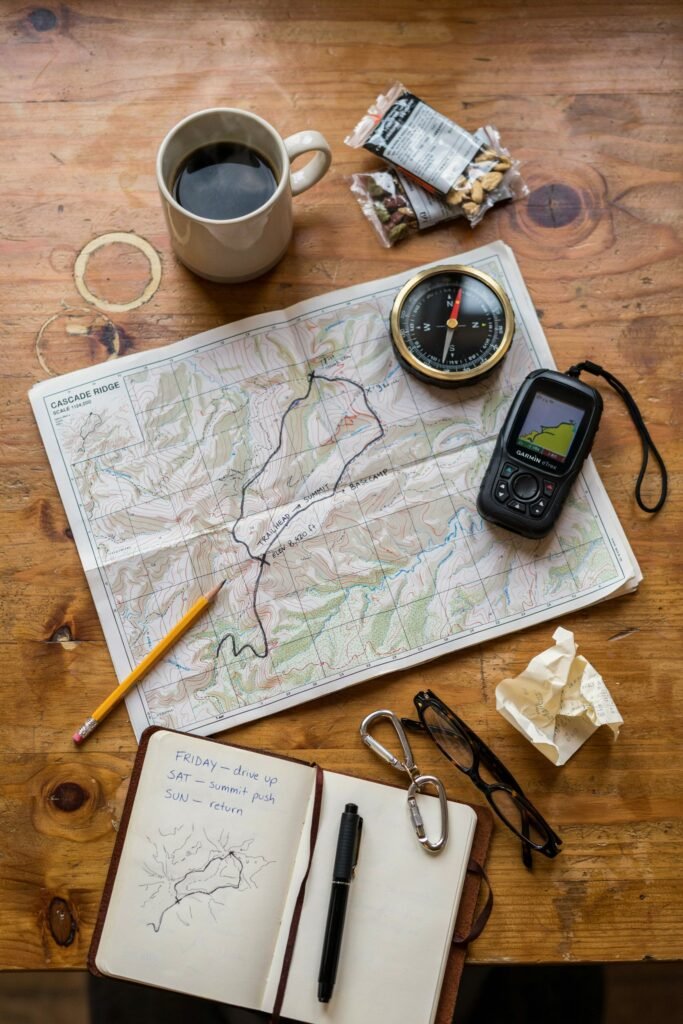
Study Topographic and Satellite Maps
Learn to read topo maps (USGS maps are free and detailed) and look for:
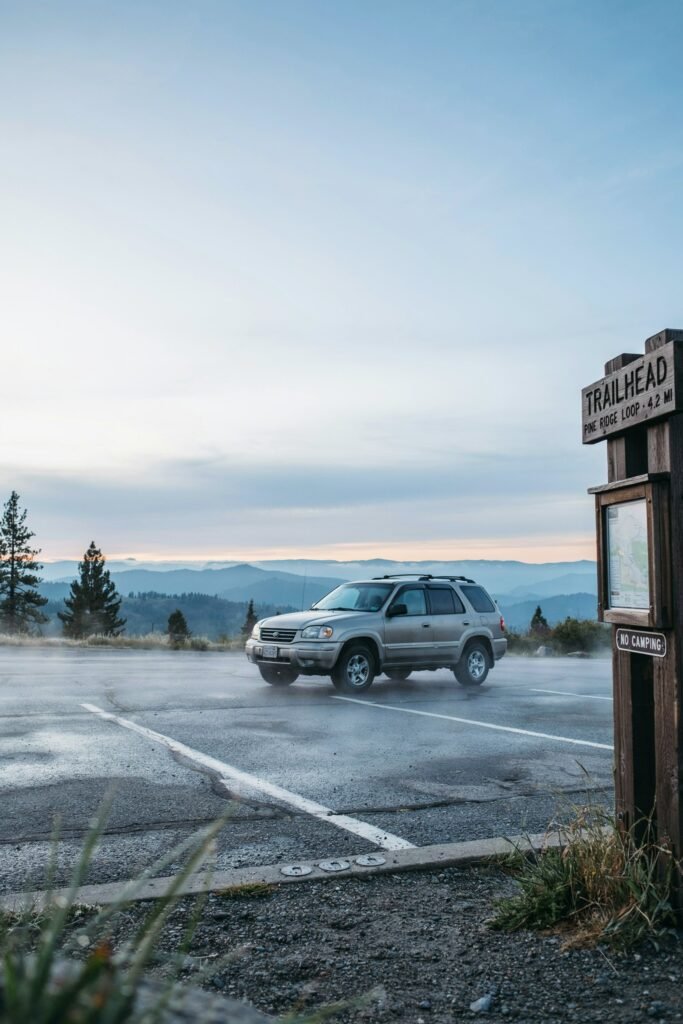
- Trailheads with no dedicated parking lot, or only room for two or three cars
- Trails that dead-end rather than loop, since loop trails and thru-hikes attract more traffic
- Paths that require a stream crossing, a gate, or a rough access road — natural filters that discourage casual hikers
- Older trail networks near abandoned mining towns, old homesteads, or decommissioned fire lookout towers, which are often maintained by volunteers but rarely advertised
Use Hiking Apps the Smart Way
Apps like AllTrails, Gaia GPS, and CalTopo are useful, but only if you use them correctly:
- Sort by “least popular” or filter by low review counts rather than defaulting to the top-rated list
- Look for trails with fewer than ten reviews — that’s often a strong indicator of low foot traffic
- Check the “recent activity” heat maps some apps offer, which show where GPS tracks cluster; avoid the bright red zones and look for faint, sparse lines instead
- Read reviews specifically for phrases like “hardly saw anyone” or “trail was overgrown in places”
Explore Adjacent or Connector Trails
Many famous trails have a lesser-known sibling nearby — a parallel ridge trail, an old access route that was replaced by a newer trailhead, or a spur that branches off the main path. These often offer similar scenery with a fraction of the visitors.
Join Local Hiking Groups and Forums
Regional hiking clubs, subreddits for your state or region, and Facebook groups dedicated to local outdoor recreation are goldmines. Members often share honest, current trail conditions and are more willing to recommend quiet trails than a public-facing app that benefits from traffic and engagement.
Consider the Off-Season and Off-Peak Regions
Sometimes the “hidden” trail isn’t secret at all — it’s simply unpopular during certain months or in certain weather. A trail that’s mobbed in July might be nearly empty in early May or late September, once you account for seasonal safety considerations (more on that below).
3. Timing Your Hike to Avoid Crowds
Even a well-known trail can feel private if you time it right.
- Go on weekdays, especially Tuesday through Thursday, when weekend warriors are back at work.
- Start before sunrise. Alpine starts aren’t just for summit attempts — arriving at a trailhead an hour before sunrise means you’ll likely have the first two or three hours entirely to yourself.
- Avoid holiday weekends and the first two weeks of a region’s peak season, when even quiet trails see a temporary surge.
- Check the weather forecast for mild “unglamorous” days. Overcast skies or a slight chance of light rain will scare off casual hikers while leaving the trail perfectly safe for a well-prepared one.
- Hike during shoulder season (spring or fall) when conditions are still reasonable but summer crowds have thinned. Just be aware that shoulder season can bring unpredictable weather, so plan accordingly.
4. What to Pack: The Complete Checklist
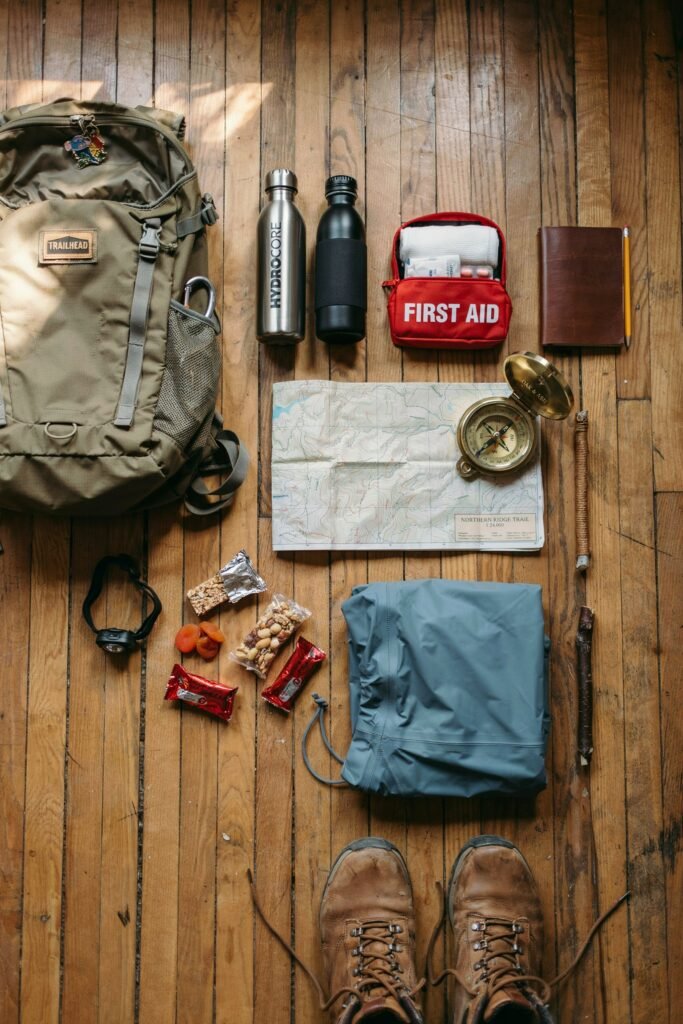
Remote and lightly trafficked trails mean help is farther away and markers are less reliable. Packing correctly isn’t optional it’s the difference between an incredible day and a genuine emergency. Here’s my full checklist, broken into categories.
Navigation
- Physical topographic map of the area (waterproofed or in a plastic sleeve)
- Compass, and the knowledge of how to use it with your map
- GPS device or a fully charged phone with offline maps downloaded in advance
- A portable battery pack, since remote trails often have no signal and GPS drains batteries quickly
Water and Food
- At least 1 liter of water per 2 hours of moderate hiking, more in heat or altitude
- A water filter or purification tablets, since hidden trails rarely have reliable potable water sources
- High-energy snacks: nuts, dried fruit, energy bars, jerky
- One extra full meal beyond what you think you’ll need, in case your hike takes longer than planned
Clothing
- Moisture-wicking base layers (avoid cotton, which stays wet and cold)
- An insulating mid-layer such as fleece or a light puffy jacket
- A waterproof, windproof outer shell
- Broken-in hiking boots or trail shoes with good ankle support
- Extra socks — wet feet are one of the most common causes of a miserable, injury-prone hike
- A hat for sun protection and a warm hat for temperature drops
- Gloves if elevation or season calls for it
Safety and Emergency Gear
- First aid kit, including blister treatment, gauze, antiseptic wipes, any personal medications, and a small emergency blanket
- Whistle (three sharp blasts is the universal distress signal)
- Headlamp with extra batteries, even for a “quick” day hike — plans change and daylight is shorter than you think
- Fire starter (waterproof matches or a lighter, plus tinder)
- Multi-tool or knife
- Sunscreen and lip balm with SPF
- Insect repellent
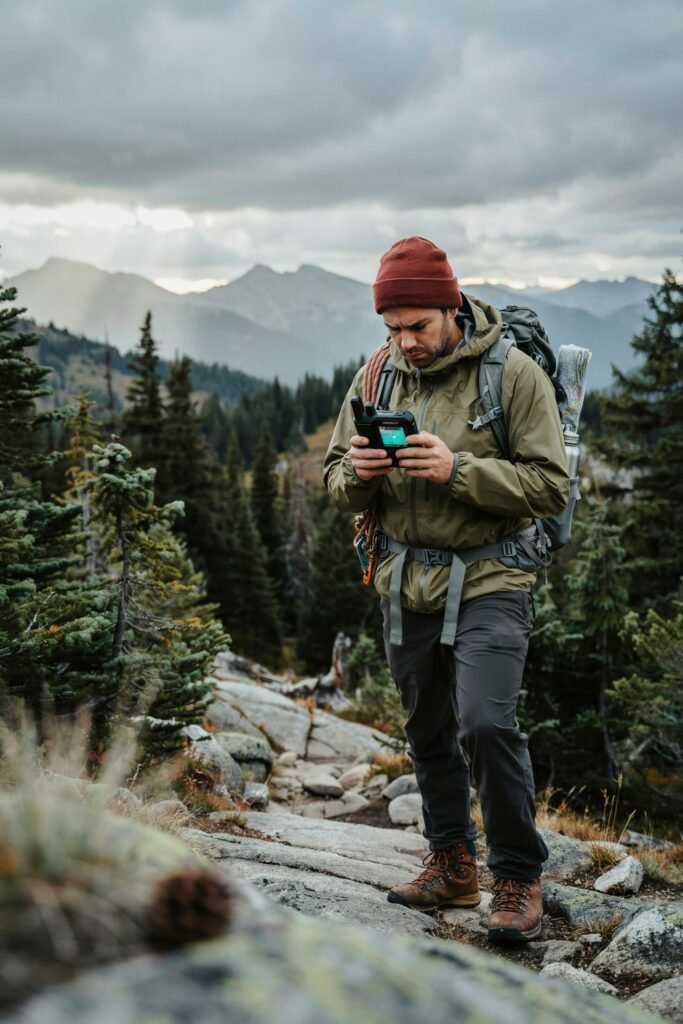
- A personal locator beacon (PLB) or satellite messenger (such as a Garmin inReach) if you’re heading somewhere with no cell coverage — this single item has saved lives on remote trails and is worth the investment if you hike alone frequently
The Extras That Matter More Than People Expect
- A trekking pole or two, especially on uneven or unmarked terrain
- A lightweight emergency bivy or space blanket, even on a day hike
- Trash bag for packing out waste (yours and any you find)
- Printed emergency contact info and any relevant medical information, kept somewhere accessible
5. Safety Considerations for Remote Trails
Hidden trails are rewarding precisely because they’re less traveled but that same quality means you’re more exposed if something goes wrong.
Treat every remote hike with a higher safety standard than you would a busy, well-marked trail.
Tell Someone Your Plan
This is the single most important safety habit you can build. Before you leave, tell a specific person:
- The exact trailhead and route you plan to take
- Your expected start and return time
- What to do and who to call if you haven’t checked in by a certain time
Many search-and-rescue delays happen not because someone couldn’t be found, but because no one knew to start looking.
Understand That Rescue Will Take Longer
On a popular trail, another hiker might find you within minutes of an injury. On a hidden trail, you could be on your own for hours.
This changes your risk calculus: turn back earlier, take fewer chances on exposed scrambles, and always carry more supplies than you think you’ll need.
Wildlife Awareness
Less-traveled trails often mean more active wildlife, since animals aren’t habituated to frequent human presence. Before you go:
- Research what wildlife is active in the area and season (bears, moose, snakes, etc.)
- Carry bear spray where appropriate and know how to use it
- Store food properly, especially if you’re stopping for an extended break
- Make noise periodically on trails with dense brush or blind corners to avoid surprising an animal
Weather Changes Fast in Remote Terrain
Without other hikers around to compare notes with or warn you about incoming weather, you’re relying entirely on your own judgment and preparation.
- Check multiple forecast sources before you go, including mountain-specific forecasts if you’re gaining significant elevation
- Watch the sky continuously, not just at the trailhead
- Know the signs of an approaching storm: darkening clouds, sudden wind shifts, a noticeable temperature drop
- Turn around well before you think you need to — remote trails are not the place to push through worsening conditions
Physical Isolation and Cell Coverage
Assume you will not have cell service. Download offline maps before you leave home, not at the trailhead where you might discover you have no signal to do so. If you hike alone regularly on remote trails, a satellite communicator is genuinely one of the best investments you can make.
6. Navigation Tips for Unmarked or Lightly Trodden Paths
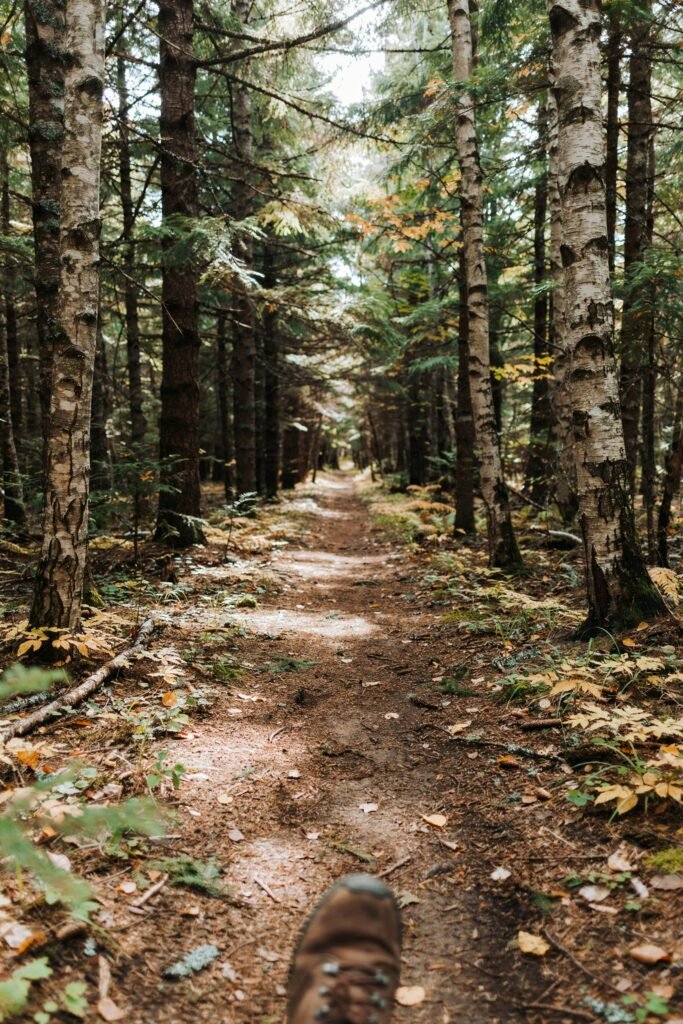
Hidden trails are often exactly that hidden which means blazes, cairns, or signage may be sparse or nonexistent. A few habits make a huge difference:
- Check your position frequently, not just when you feel lost. By the time you notice you’re off-route, you may have already gone a mile in the wrong direction.
- Look behind you periodically. A trail looks completely different heading the opposite direction, and this habit makes your return trip far easier.
- Note distinctive landmarks a fallen tree, an unusual rock formation, a stream crossing and log them mentally or in a notes app as you pass.
- If the trail seems to disappear, stop. Don’t push forward hoping to relocate it. Backtrack to the last point you were certain of the route.
- Build in a turnaround time before you leave, based on daylight and your fitness level, and stick to it regardless of how close you feel to your goal.
7. Trail Etiquette and Leave No Trace

Part of what keeps a hidden trail special is that it stays that way. A few principles worth internalizing:
- Pack out everything you bring in, including food scraps, which can attract wildlife and disrupt natural feeding behavior.
- Stay on the trail, even where it’s faint. Cutting switchbacks or wandering off-path accelerates erosion, especially on less-established trails that aren’t built to handle traffic.
- Camp and rest at least 200 feet from water sources if you’re doing an overnight version of your hike.
- Keep your voice down and your group small. Part of the reward of a quiet trail is the quiet itself — for you and for other hikers who found the same hidden gem.
- Be cautious about geotagging exact locations on social media. A quick, generic mention of the region is enough to share the experience without turning a fragile, lightly used trail into next season’s overcrowded hotspot.
8. Physical Preparation
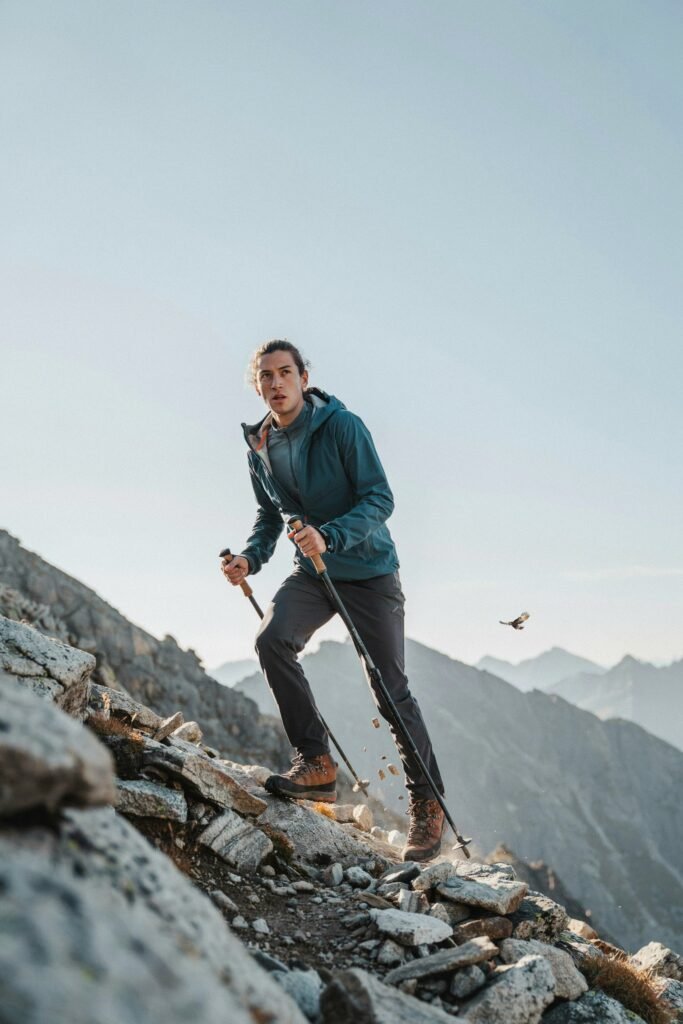
Hidden trails are frequently rougher, steeper, or less maintained than their popular counterparts. Prepare your body accordingly:
- Build cardiovascular endurance with regular hikes, runs, or stair training in the weeks before a big trip
- Incorporate weighted pack training if you plan to carry a full day pack or overnight gear
- Strengthen ankles and stabilizer muscles, since uneven, unmarked terrain demands more balance than a smooth, well-trodden path
- Break in your footwear thoroughly before the hike — remote trails are the worst place to discover a blister-causing boot
- Practice a realistic pace estimate on similar terrain so your turnaround-time calculations are accurate
9. Red Flags That Mean You Should Turn Back
Knowing when to abandon a hike is as important as knowing how to plan one. Turn back if:
- Weather shifts unexpectedly, especially near ridgelines, exposed terrain, or water crossings
- You lose confidence in your location and can’t quickly reorient using your map or landmarks
- Daylight is running out faster than your remaining distance allows
- Anyone in your group shows signs of altitude sickness, heat exhaustion, or hypothermia
- The trail becomes significantly more technical or exposed than what you prepared for
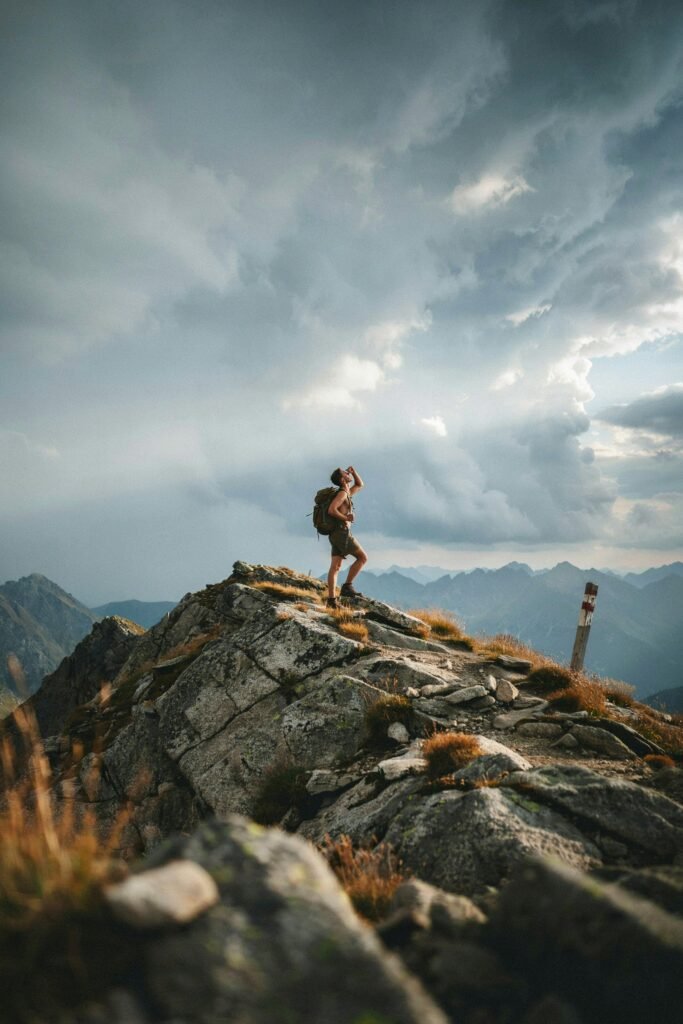
There’s no summit, viewpoint, or hidden waterfall worth a serious injury in a place where help is hours away. The quiet trail will still be there next time.
Final Thoughts
Finding hidden hiking trails without crowds isn’t about luck it’s a skill built from research, timing, and respect for the land and your own limits.
The reward is real: mornings where the only sound is wind through the trees, wildlife encounters that feel earned rather than staged, and a version of hiking that feels personal again.
Start small. Pick one lightly used trail near you, do the research, pack thoroughly, tell someone your plan, and go find that quiet for yourself. Once you experience a hike with no one else on it, it’s hard to go back to standing in line for a photo.
Stay safe out there, and enjoy the solitude.