How to Capture Breathtaking Photos, Tell Visual Stories, and Choose the Best Gear
Travel photography isn’t just about pretty pictures.
It’s about capturing emotion, preserving memories, and sharing experiences that words alone can’t describe.
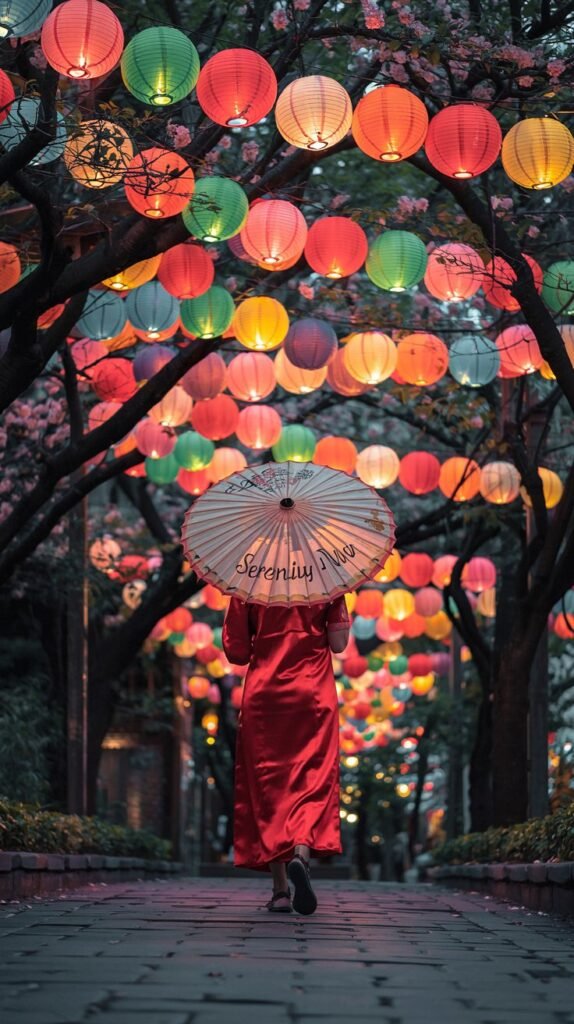
Whether you’re strolling through the lantern-lit streets of Kyoto, hiking the Alps at sunrise, or exploring ancient temples in Cambodia, knowing how to shoot compelling travel photos will elevate your storytelling and your blog, social media, or personal photo albums.
In this in-depth guide, we’ll cover 15 simple yet powerful tips to improve your travel photography. Plus, we’ll break down the best high-quality cameras in 2025 with current prices, so you can invest wisely depending on your goals and budget.
1. MASTER YOUR CAMERA
The first step in better photography is understanding how your camera works whether you’re shooting with a smartphone, a DSLR, or a mirrorless model.
Know what ISO, shutter speed, and aperture do and how they affect exposure, motion, and depth.
WHAT CAMERA SHOULD YOU BUY IN 2025?
Here are top-performing cameras (with updated prices) based on your level:
| Camera | Type | Ideal For | Price (USD) |
|---|---|---|---|
| Canon EOS R6 Mark II | Mirrorless | Pros & enthusiasts | $2,499 (body only) |
| Sony A7 IV | Mirrorless | All-around use | $2,498 (body only) |
| Fujifilm X-T5 | Mirrorless (APS-C) | Travel & lifestyle | $1,699 (body only) |
| Nikon Z fc | Mirrorless (Retro Style) | Beginners & travel bloggers | $959 (kit) |
| iPhone 15 Pro Max | Smartphone | On-the-go, fast capture | $999.99 (base model) |
| Samsung Galaxy S24 Ultra | Smartphone | Zoom & editing power | $900 (base model) |
TIP: If you’re just starting out, invest more in lenses than the camera body. A quality lens like a 24–70mm f/2.8 covers most travel needs.
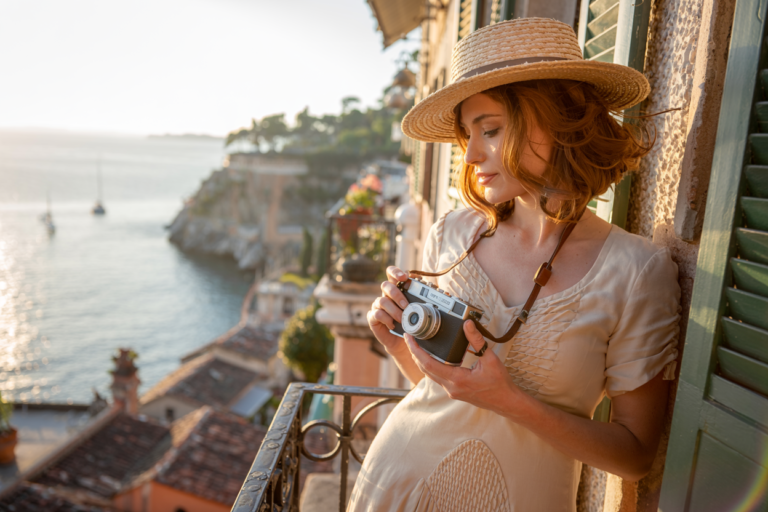
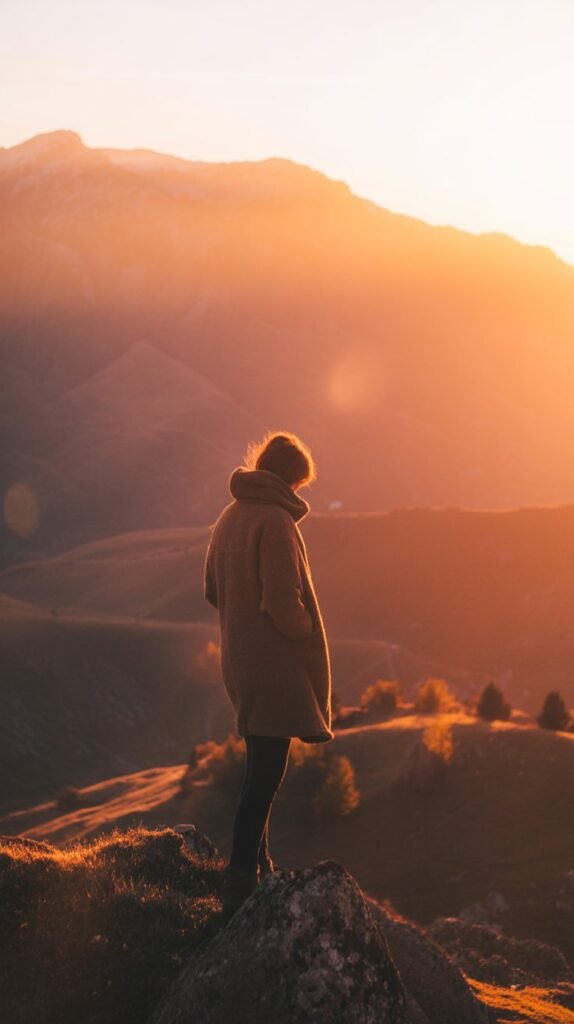
2. PLAN FOR THE GOLDEN HOUR
Golden Hour occurs shortly after sunrise and before sunset, offering soft, diffused, golden light.
This is when shadows are long, colors are warm, and the sky glows.
WHEN TO SHOOT:
- Morning Golden Hour: 30–60 mins after sunrise
- Evening Golden Hour: 30–60 mins before sunset
TIP: Use apps like PhotoPills, Golden Hour One, or Sun Surveyor to plan your shoot around natural light.
3. LEARN THE RULE OF THIRDS
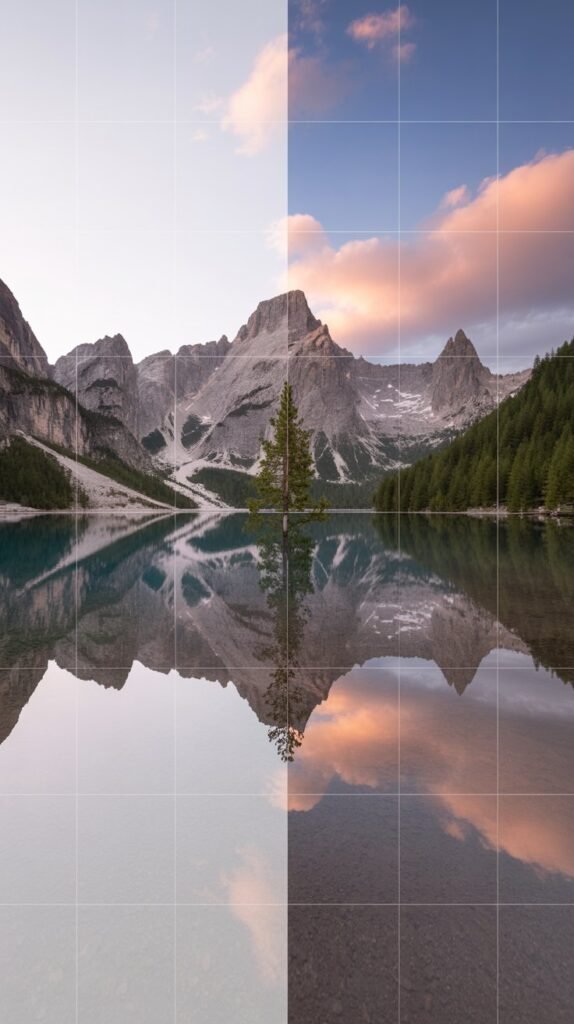
The Rule of Thirds is one of photography’s oldest tricks.
Imagine a 3×3 grid on your image place the subject where the lines cross, not in the center.
This technique:
- Creates visual balance
- Guides the viewer’s eye
- Leaves space for context or movement
TIP: On most phones and cameras, you can enable the grid in settings.
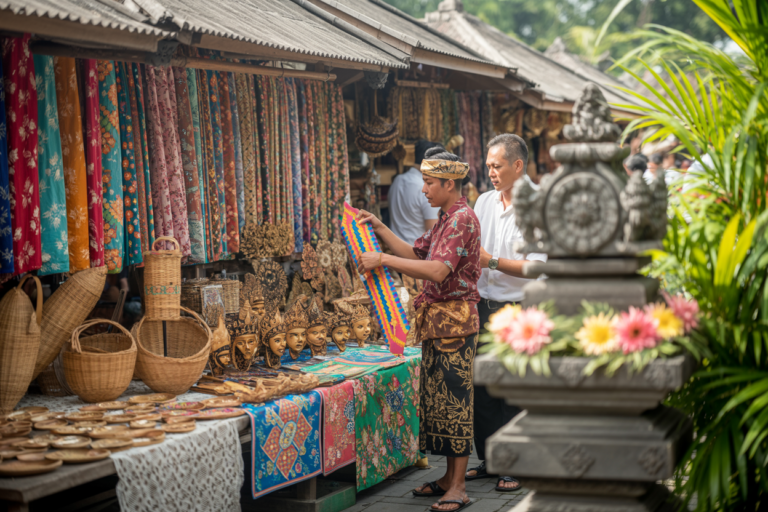
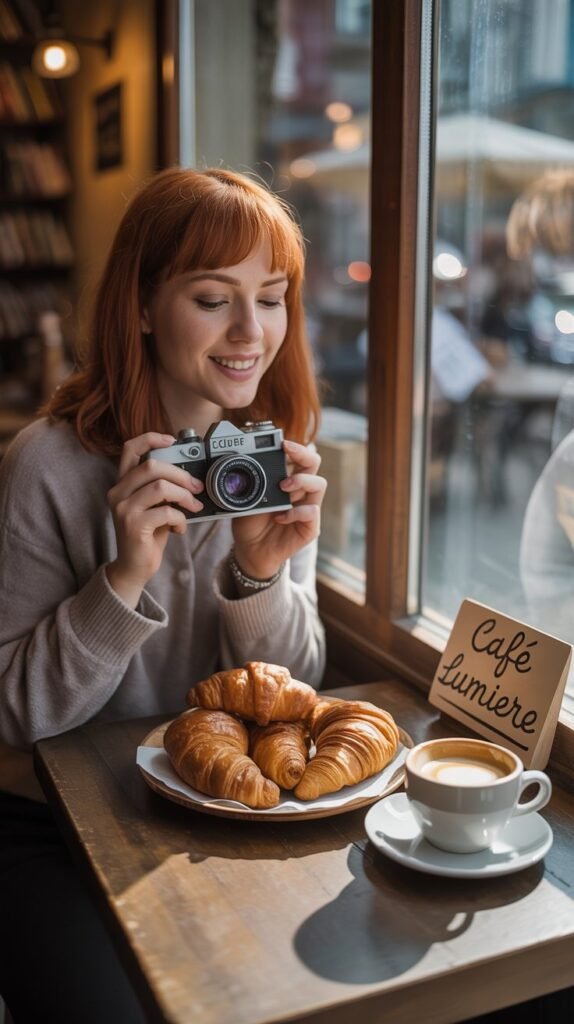
4. CAPTURE EMOTION & STORY

Don’t just photograph places photograph moments.
A spice vendor arranging baskets in Morocco, a child running through a water fountain in Rome, or a monk walking at sunrise in Myanmar… these moments tell real stories.
THINK LIKE A STORYTELLER:
- Who is in your frame?
- What are they doing?
- Why does it matter?
TIP: Look for human interactions, motion, or environmental clues (like signs or shadows) to create emotional impact.
5. EMBRACE NATURAL LIGHT
Avoid flash when possible. Flash often flattens photos and makes them look artificial.
Instead, use available natural light to create depth, drama, or softness.
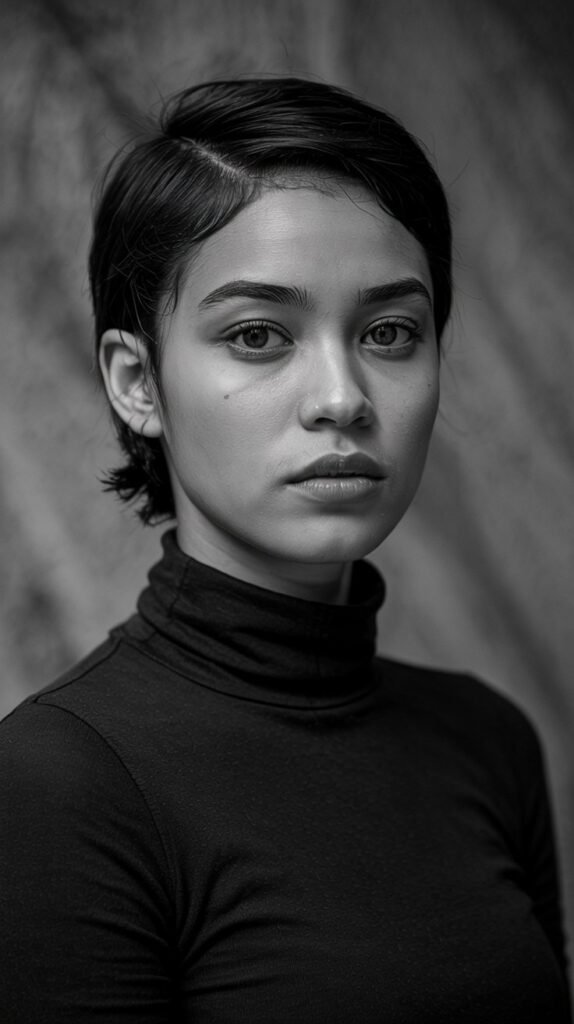
- For portraits: Find open shade or shoot during golden hour.
- For interiors: Use side lighting near a window.
- For food: Backlighting works great (light behind the subject).
TIP: On smartphones, tap to focus and slide to adjust exposure manually.
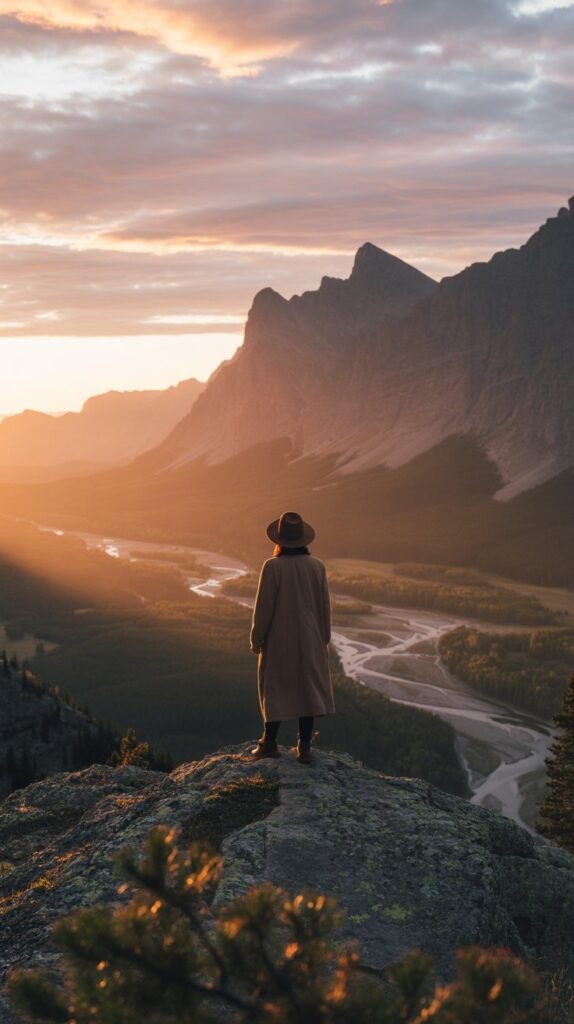
6. INCLUDE PEOPLE FOR SCALE

People add perspective, emotion, and relatability to photos.
A lone hiker under towering cliffs tells a better story than just the landscape.
Try photographing:
- Locals in traditional dress
- Travelers interacting with the environment
- Hands, feet, or silhouettes for subtle human presence
TIP: Always ask before taking someone’s photo, especially in culturally sensitive places.
7. CLEAN YOUR BACKGROUND
A cluttered background distracts from your subject.
Before clicking the shutter:
- Scan the background
- Change your angle
- Move distracting objects out of frame
TIP: Use wide apertures (like f/2.8) to blur the background and isolate your subject.
8. USE LEADING LINES

Leading lines are visual elements like roads, fences, or rivers that guide the viewer’s eyes to your subject.
They add structure and flow to the photo.
Common examples:
- Bridges
- Staircases
- Paths or alleyways
TIP: Kneel or shoot from a lower angle to enhance the line’s effect.
9. CHANGE YOUR PERSPECTIVE
Shoot high, low, sideways, or through something.
Changing your angle adds depth and uniqueness to your shots.
TRY:
- Shooting between trees or arches
- Capturing reflections in puddles
- Taking aerial shots with a drone
TIP: Carry a mini tripod (like a Joby GorillaPod) for low-angle stability.
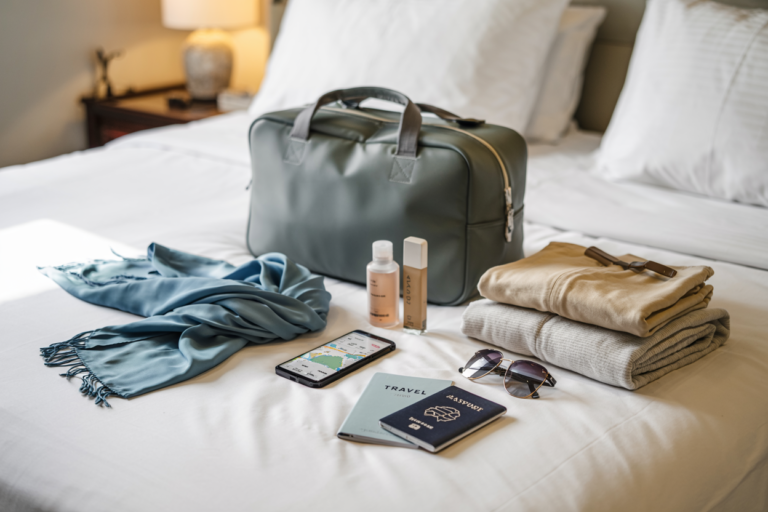
10. TRAVEL LIGHT, SHOOT SMART
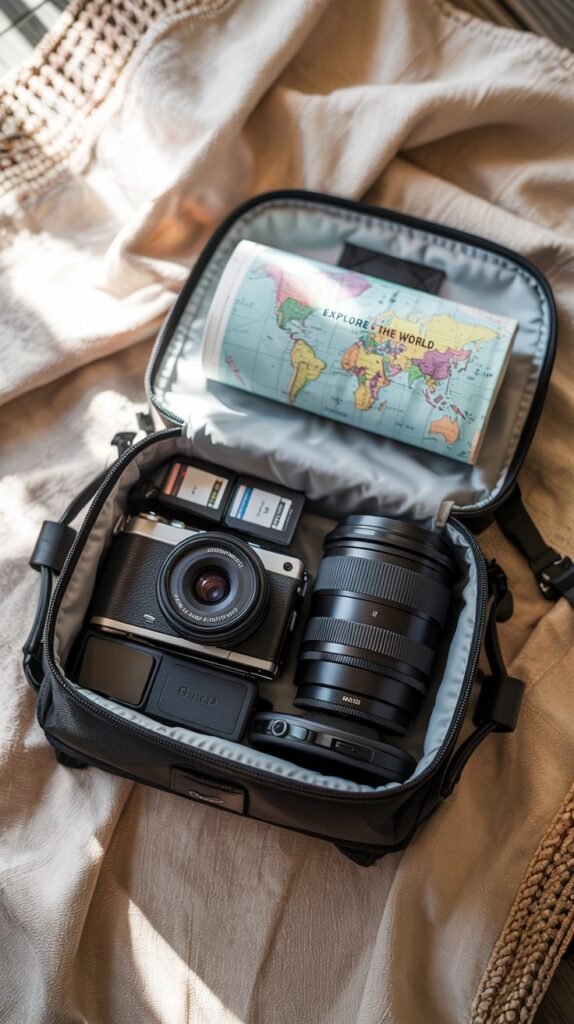
Travel photography doesn’t need bulky gear. Pack light and smart.
The less gear, the more mobile and spontaneous you’ll be.
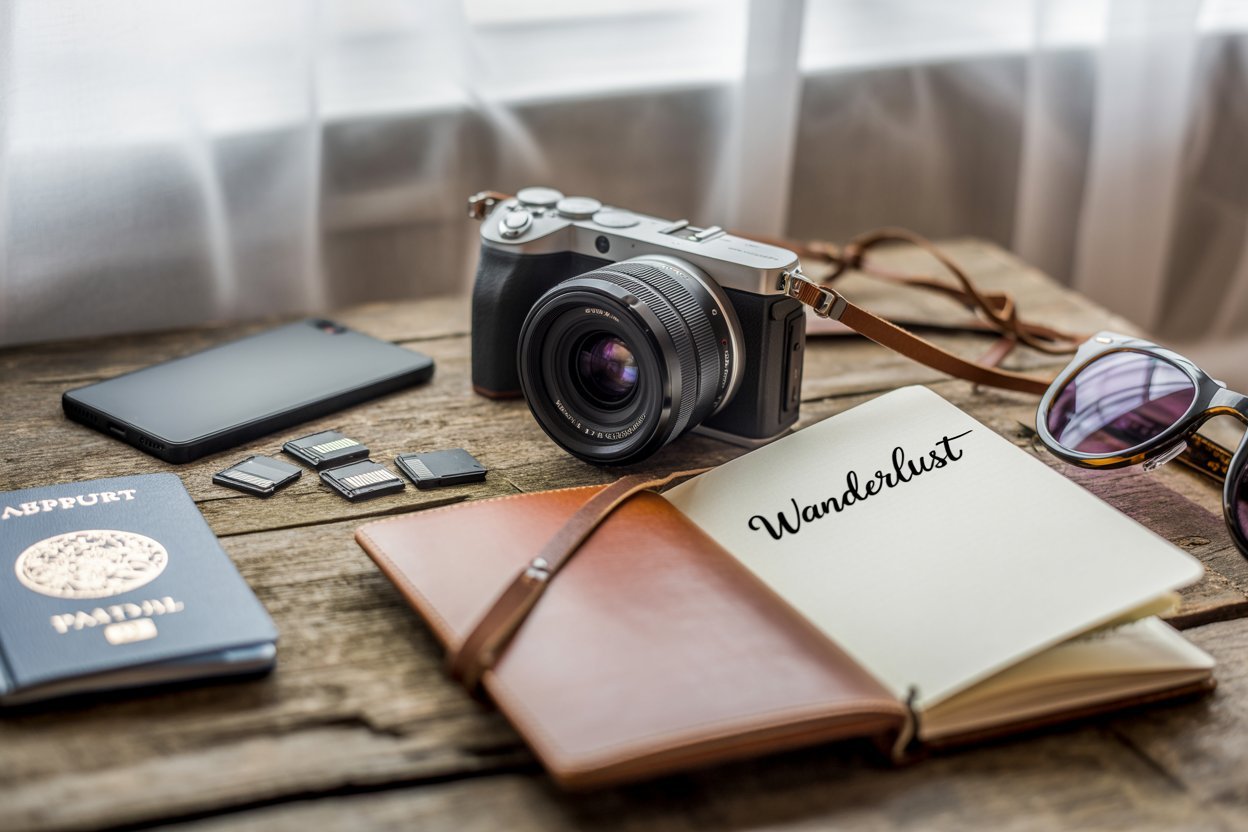
TRAVEL PHOTOGRAPHER’S STARTER KIT:
- 1 camera body (mirrorless or compact)
- 1 versatile lens (24–70mm or 18–135mm)
- 1 phone gimbal or tripod
- 2–3 SD cards + spare batteries
TIP: Pack gear in a weather-resistant camera backpack with padded dividers.
11. USE YOUR SMARTPHONE LIKE A PRO
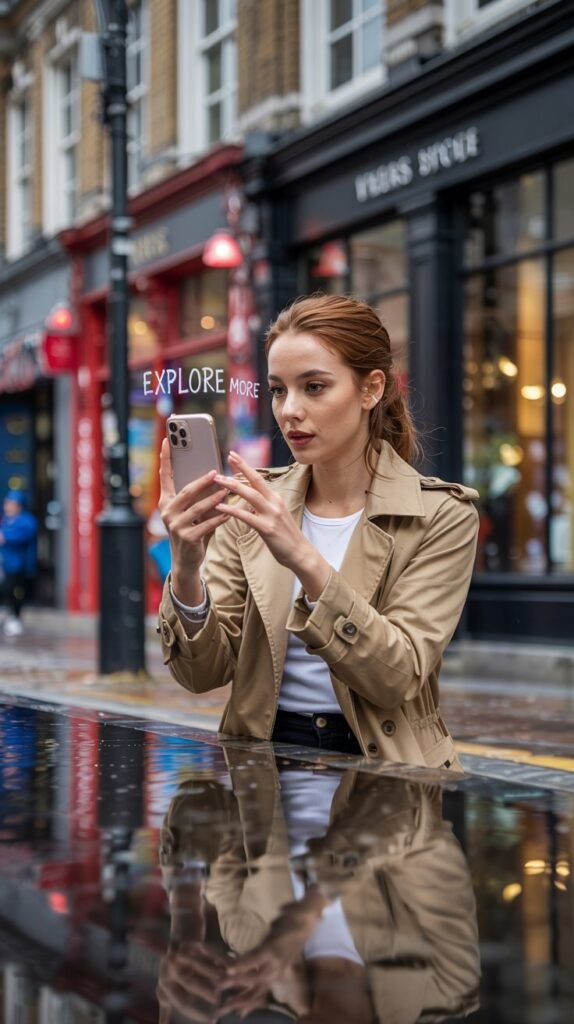
Modern smartphones have incredible cameras, especially the iPhone 15 Pro and Galaxy S24 Ultra.
Use manual camera apps (like Halide or ProCamera) for more control.
SMARTPHONE PHOTOGRAPHY HACKS:
- Use the volume button to avoid shaking
- Clean your lens before every session
- Shoot in portrait mode or pro mode
- Use third-party lenses like Moment lenses
TIP: Don’t zoom digitally. Move closer to your subject.
12. EDIT THOUGHTFULLY
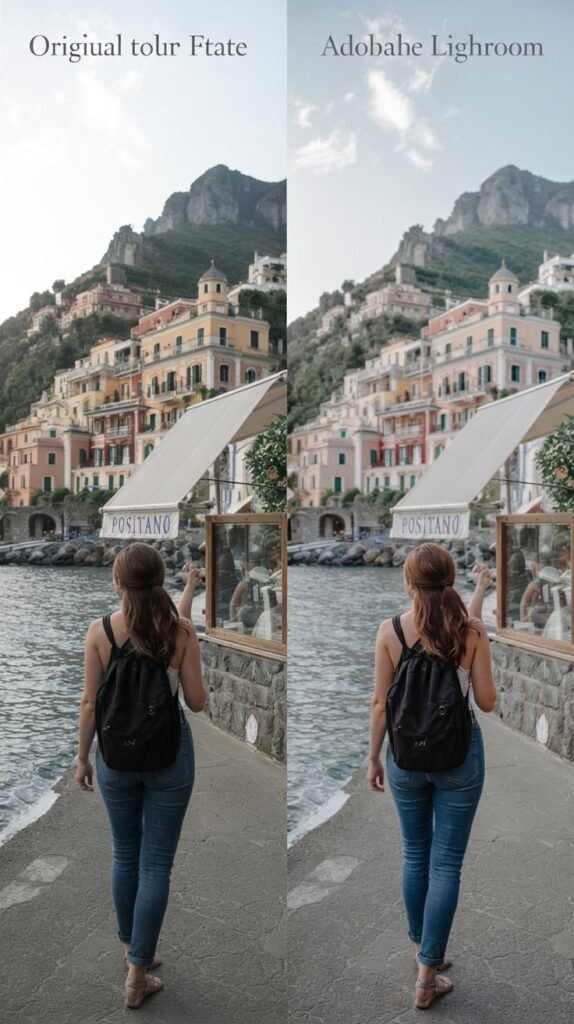
Editing is like seasoning food—too much ruins the flavor.
Use editing tools to enhance, not hide, your original image.
BEST EDITING TOOLS IN 2025:
| Tool | Best For | Cost |
|---|---|---|
| Adobe Lightroom (Desktop & Mobile) | Professional editing | Free / $9.99/month (Premium) |
| Snapseed (iOS/Android) | Quick phone edits | Free |
| VSCO | Aesthetic filters | Free / $19.99/year (Pro) |
| Darkroom | iOS users | Free / $4.99/month (Pro) |
TIP: Edit with purpose. Adjust light, contrast, saturation, and crop—not just filters.
13. SHOOT IN RAW FORMAT

RAW files capture more information than JPEGs.
They’re larger but give you greater flexibility in editing.
Most modern cameras and even smartphones support RAW.
BENEFITS:
- Better control over shadows/highlights
- Improved image quality when editing
- More detail retention
TIP: Always carry extra SD cards. RAW files are 2–3x larger than JPEGs.
14. WAIT FOR THE RIGHT MOMENT
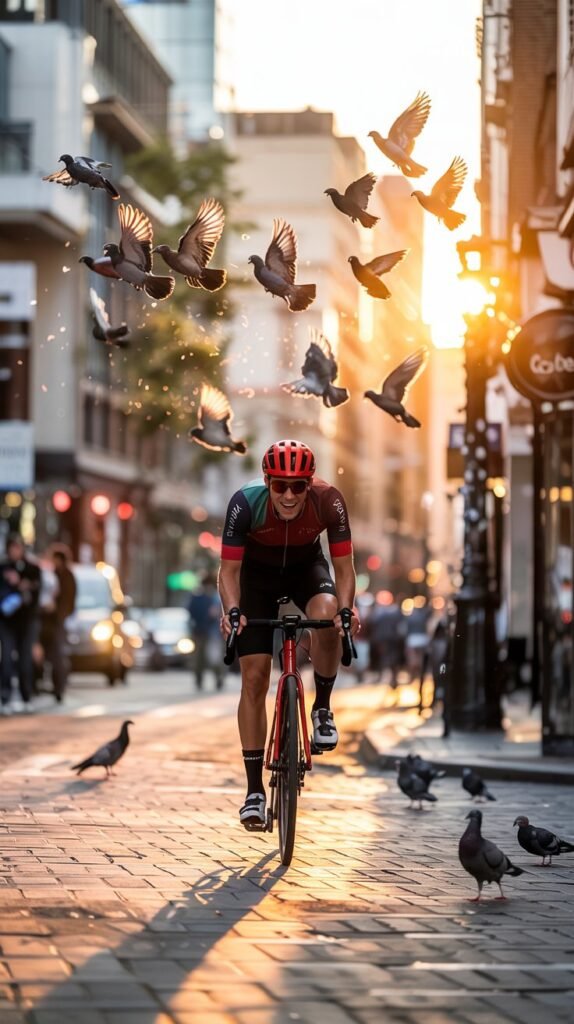
Sometimes the perfect photo isn’t about gear it’s about timing.
Wait for the right movement, lighting, or human interaction.
Patience separates good photographers from great ones.
EXAMPLES:
- A bird flying through your frame
- A local walking through a ray of sunlight
- A child peeking around a corner
TIP: Find a compelling background and wait for the moment to unfold.
15. PRACTICE, REVIEW & GROW

No one becomes a great travel photographer overnight.
Practice consistently, review your own work, learn from feedback, and keep trying new styles.
HOW TO GROW:
- Study photographers you admire
- Join photo walks or travel groups
- Take online courses (like Skillshare or MasterClass)
- Create a themed Instagram or photo journal
TIP: Compare your old photos to new ones every 6 months to track your growth.
CONCLUSION: START SHOOTING LIKE A PRO
With these 15 practical tips and the right gear, you’re fully equipped to take your travel photography to the next level.
Whether you’re documenting your solo journey across Europe or building a photo diary for your travel blog, remember:
- Be intentional
- Tell stories
- Shoot often
- Experiment boldly
Your next unforgettable shot might just be one click away.